HOW BOOKS ARE MADE
Hello, YOU! Welcome here! This is my book-making process from start to finish in ten steps. Everyone’s journey is different, and we all do this different ways, but here’s mine!
P.S. In case you want to know - authors don’t find illustrators for their stories. Publishers are the experts at finding the right artist for the right words. Different stories, different styles! And remember, authors ‘see’ in words rather than in ‘pictures’ like an artist does.
When we love the words, our creativity flows. We make those words our own baby and can ‘see’ how to bring the story alive – in the end it needs to look like we did the whole thing ourselves. It’s a different kind of teamwork!

Book Process: Step 1
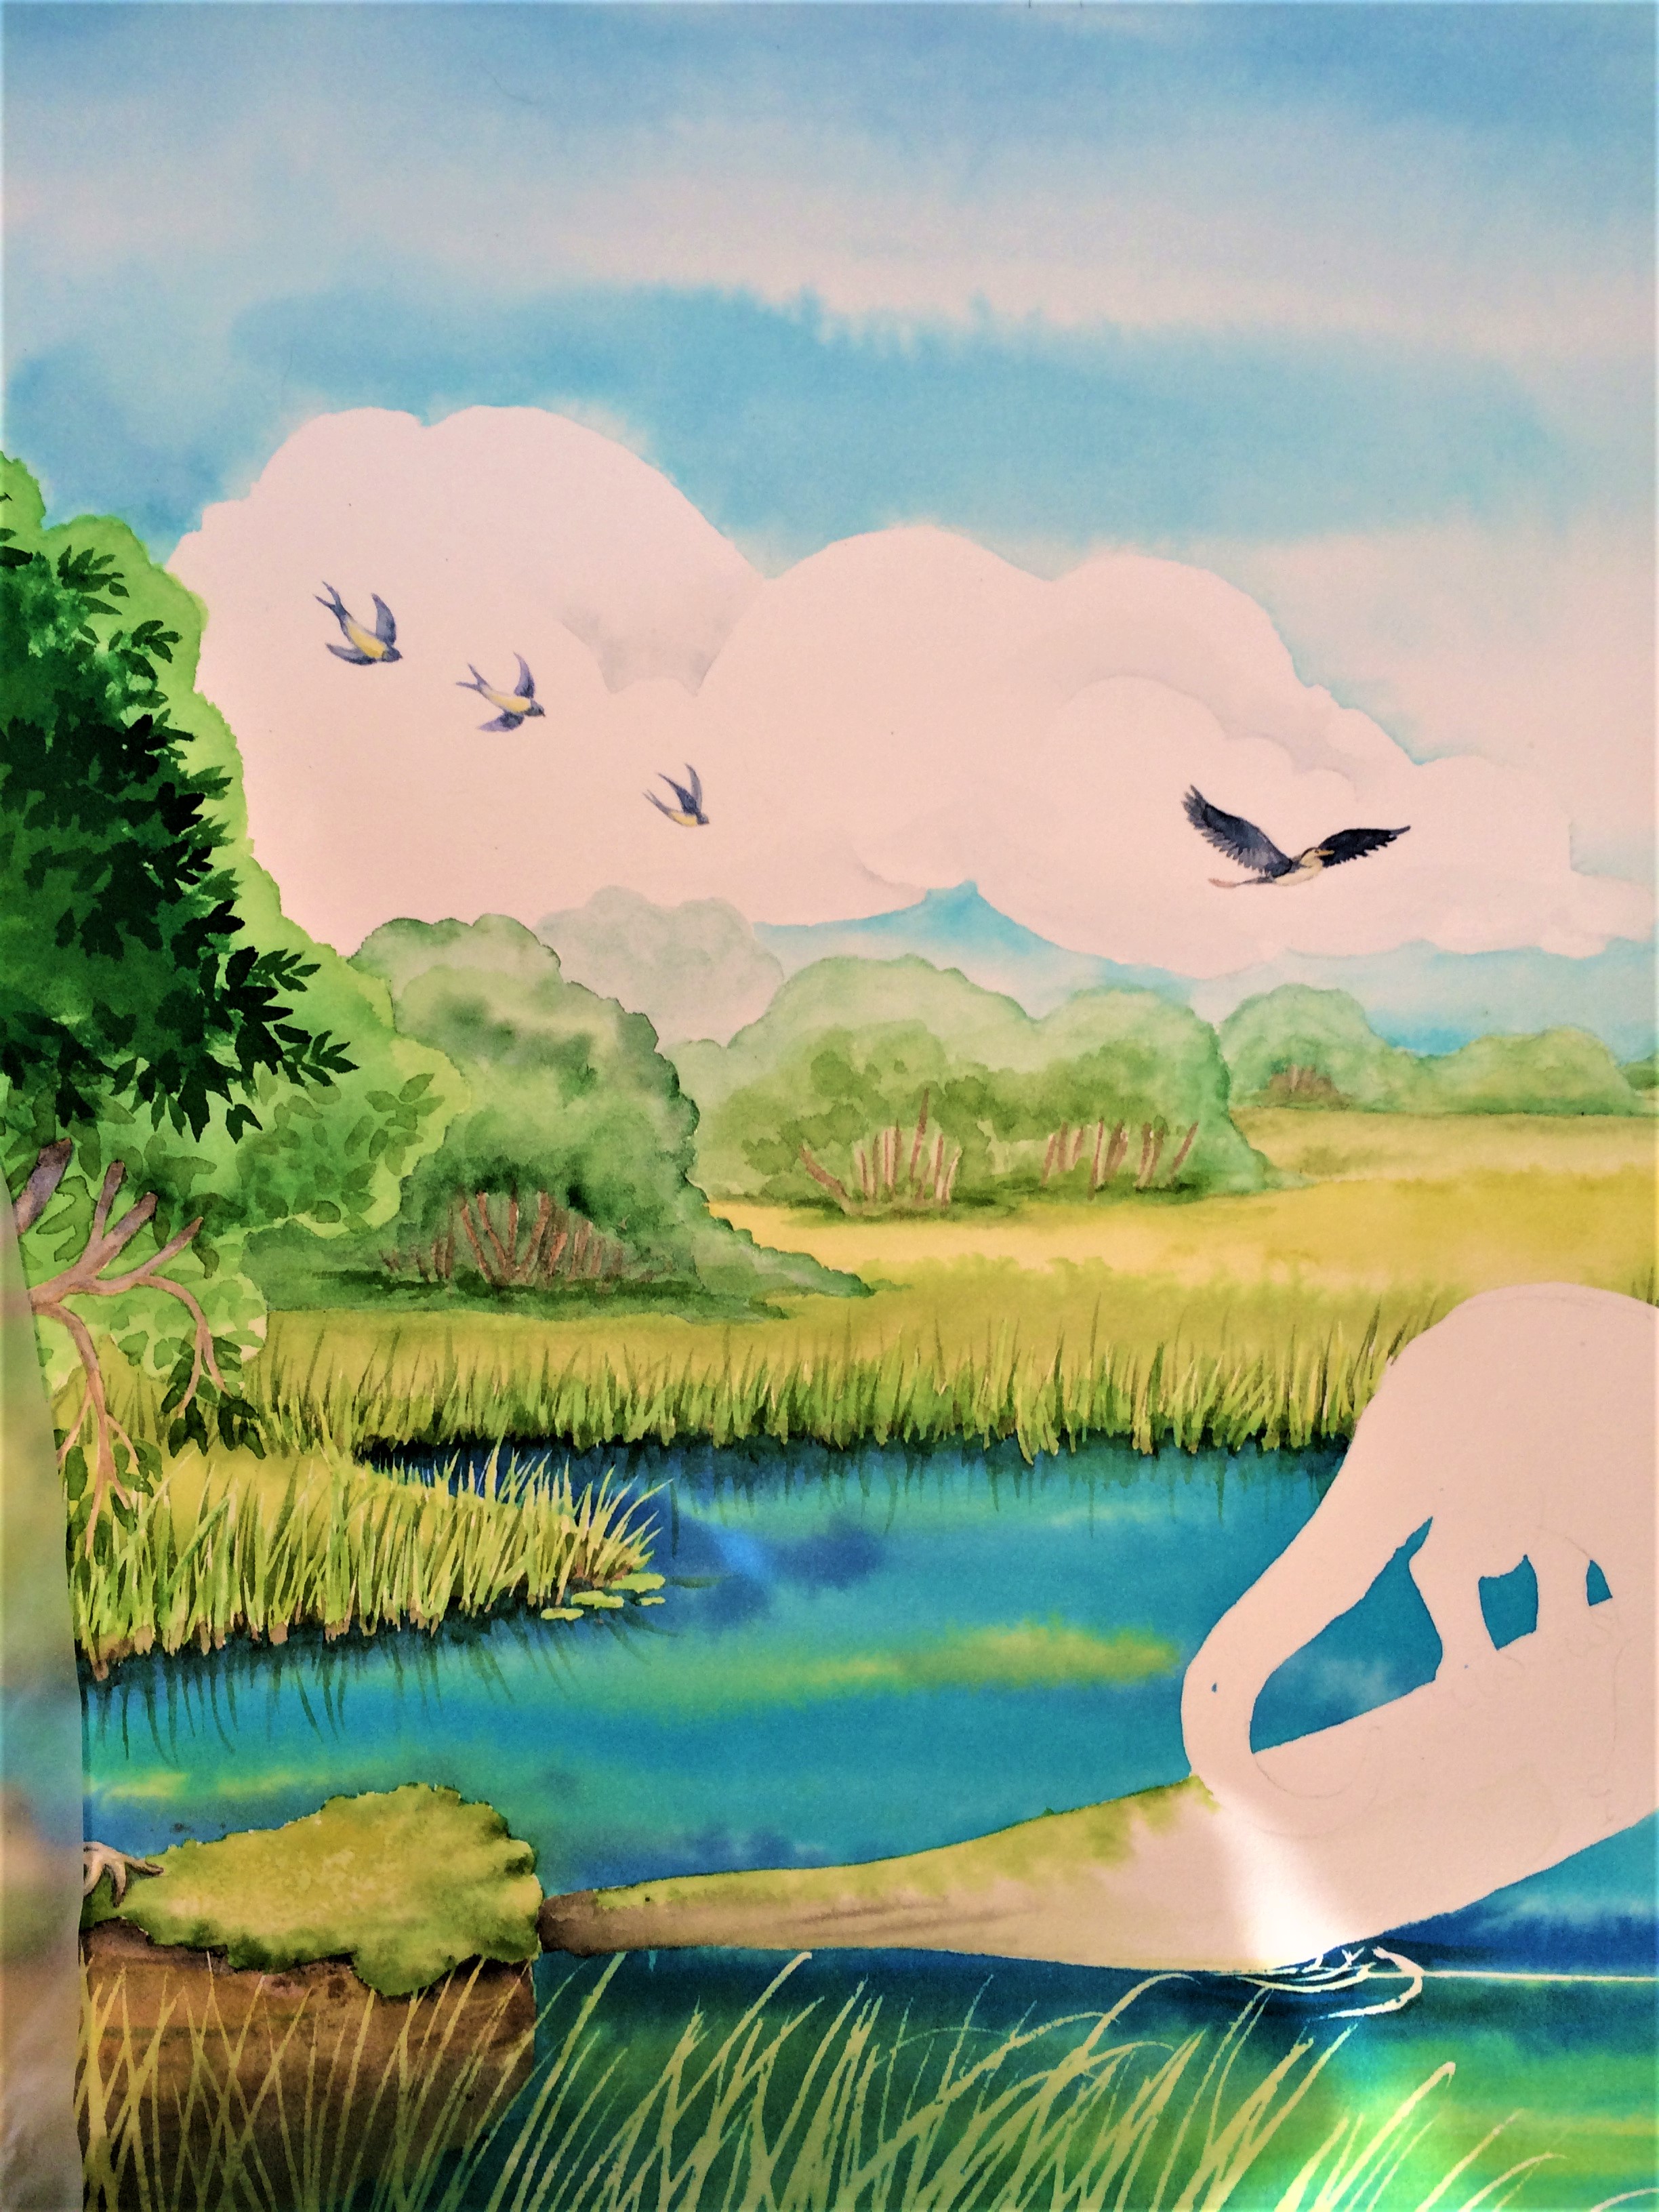
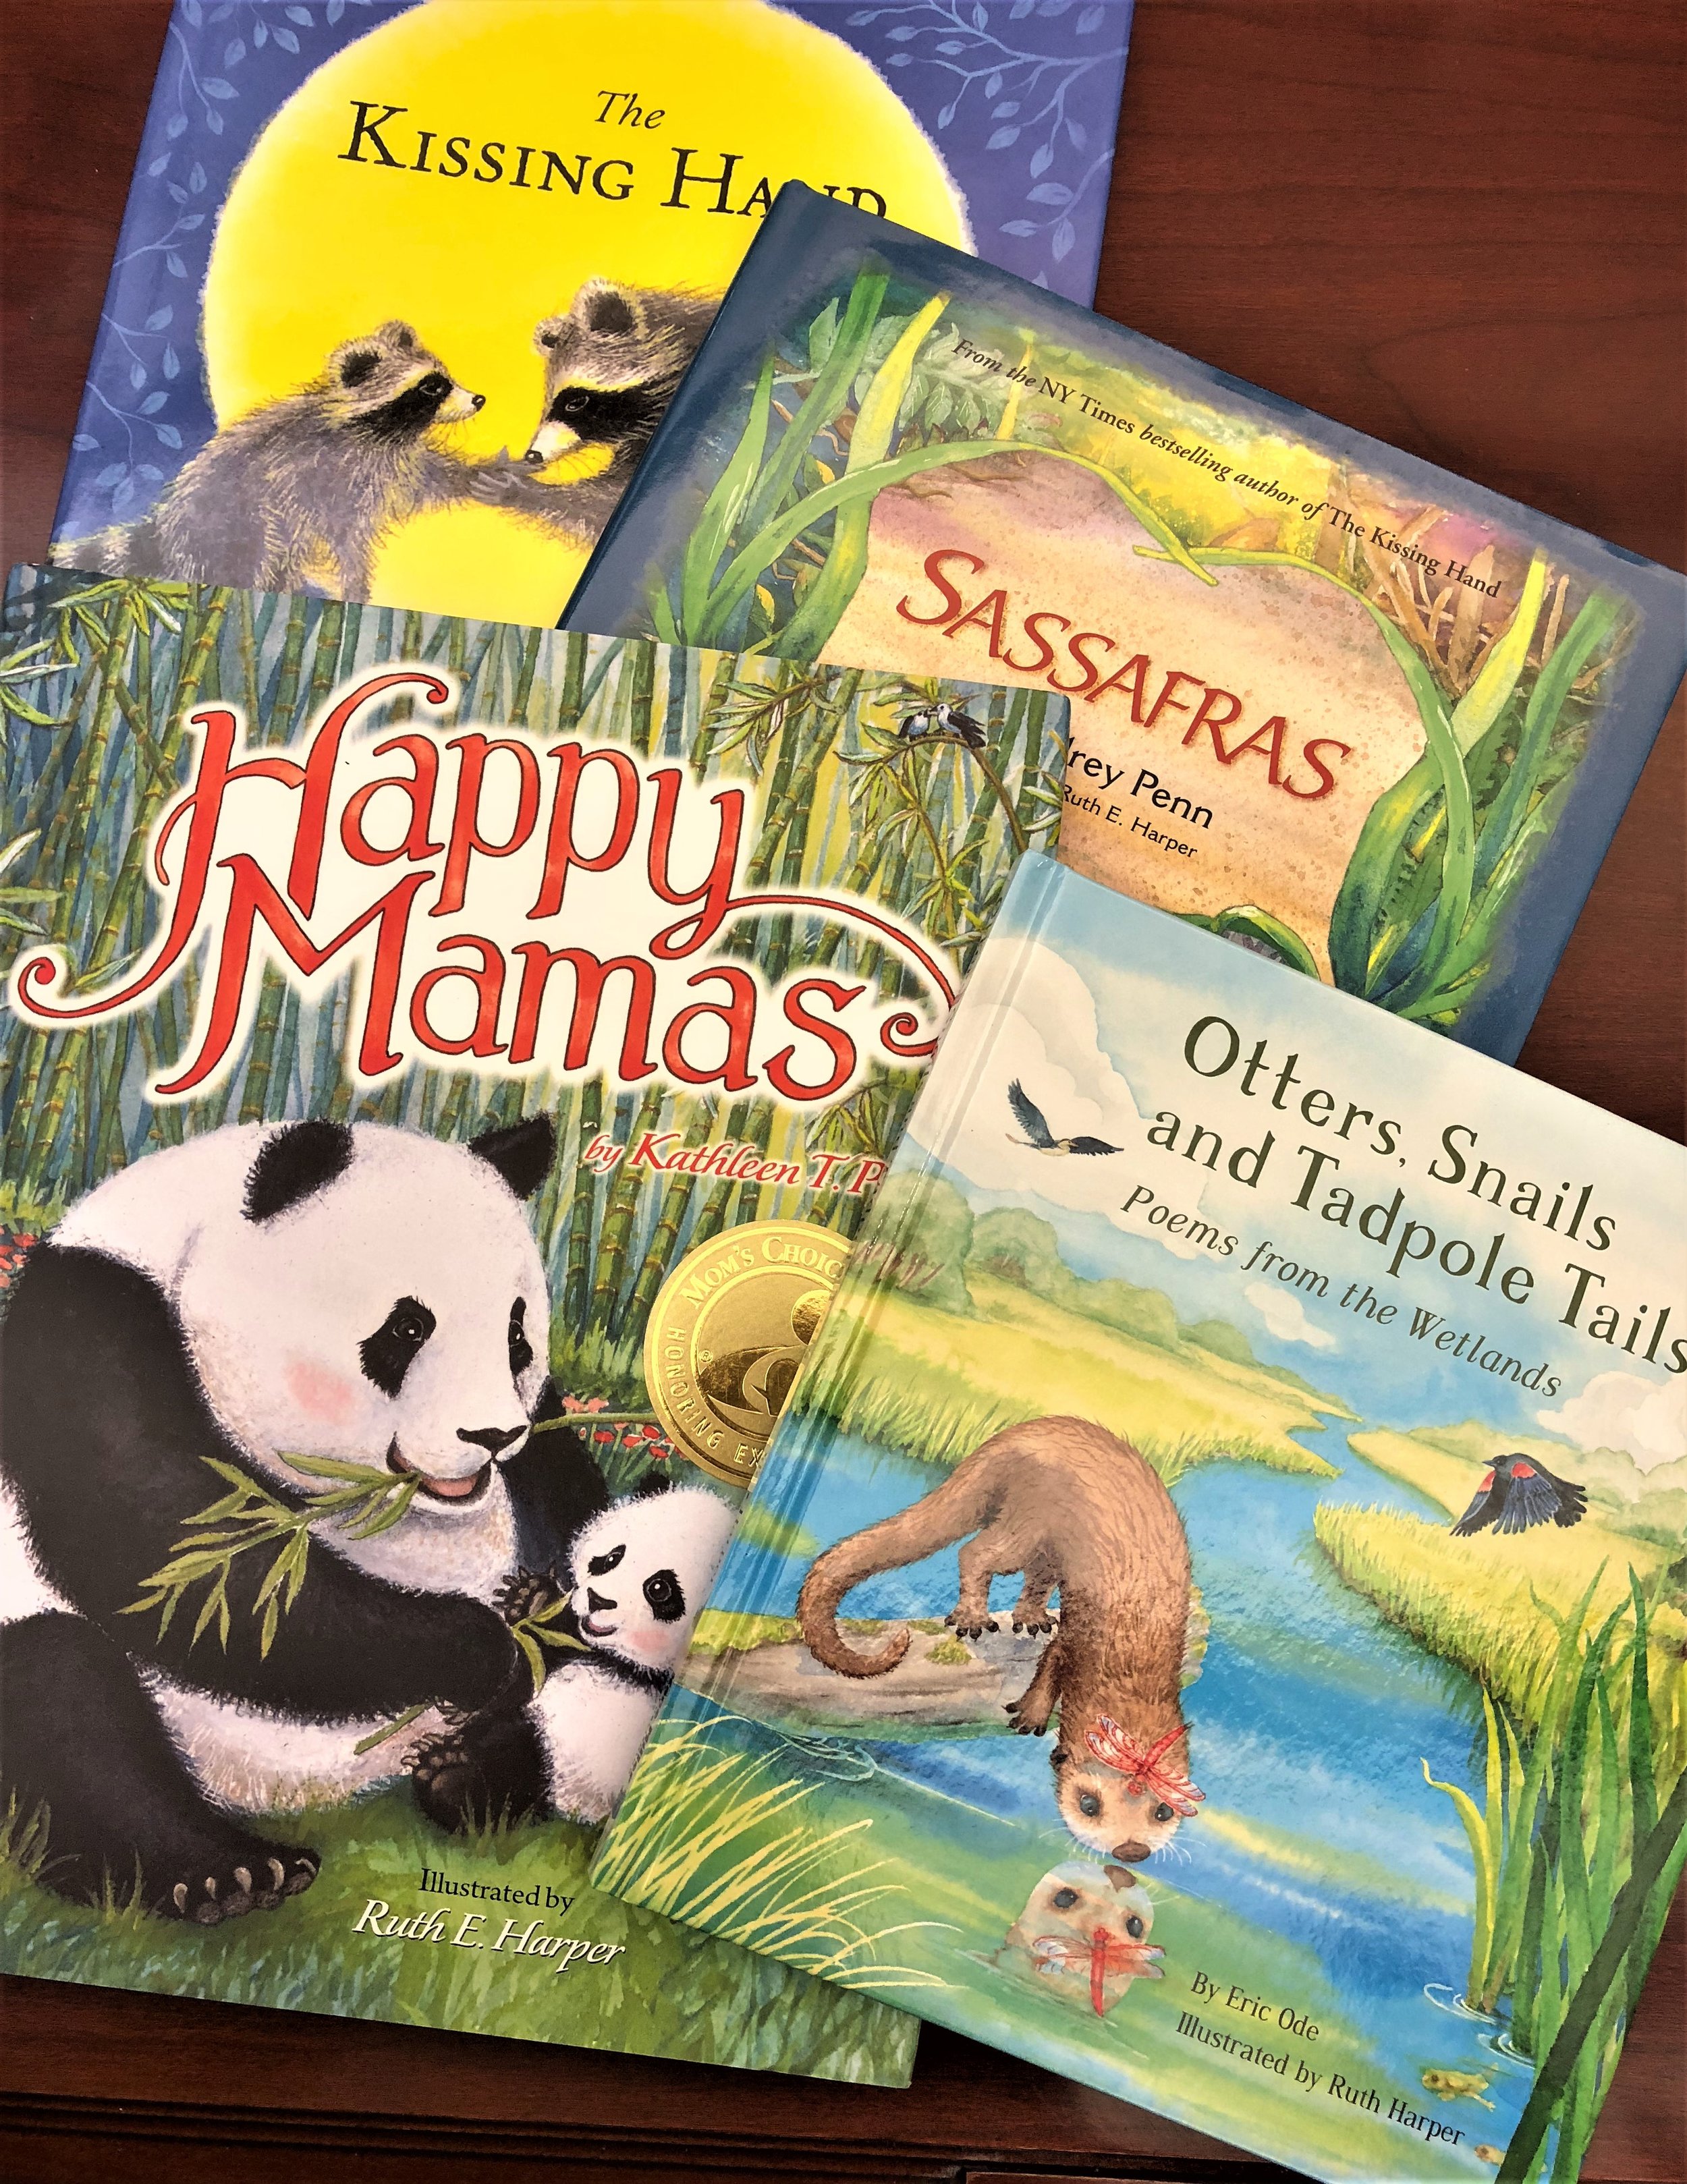
a. READ the manuscript with open eyes of wonder. It should make my heart sing and images pop into my head. Eric Ode’s ‘Otters’ manuscript made me think, “Oh! It’s DELICIOUS!” The most tasty words ever!
b. READ IT AGAIN and again and again - doodle all the images that pop into my head. Then I look at a gazillion good picture-books – tossing ideas and colors around in my head. It’s a time of long hard thinking.
Summary: a. Read b. Read/doodle c. Photos
THINK A LOT!

c. PHOTO COLLECTION begins. Find many photos of characters and landscapes (the ‘setting’) to look at for their shapes, colors, etc. I organize in files on my computer.

Storyboard Plan: Step 2
a. MARK UP the manuscript where I think pages should start/stop. Note any ideas, like pages with no words or double-spreads. Sketch character ideas. Think a lot. By now, ideas start to flow in the car, the shower, at church, at work…(oops!)

b. I remember that stories love patterns of three and odd numbers, and surprises. And never put anything smack in the middle (rule of thirds). Think long and hard.
c. SKETCH a few a storyboard ideas on one sheet. Play with different sizes, scenes, and characters. Sketch as many ideas as possible.
d. TYPE the text out exactly where I want it on each page, to scale, then combine to make one storyboard of just the words. I know, this sounds kind of complicated. Draw all pages again, neatly around the text.
e. SEND THIS tiny storyboard page to the publisher to see if the art director likes my ideas. WAIT…
Summary: a. Mark text b. Remember rules! c. Sketch storyboard d. Type text to scale, redraw. e. Send for approval.
CLick here to see my final storyboard

Story Colors: Step 3
a. THEY LIKE IT? Jump up and down three times! Then print two copies of the tiny storyboard. ONE copy goes on my bulletin board so I can draw a big red X through each page as I finish it, the other is for a color guide (color with pencil). I make a tiny book dummy, too.
b. COLORS: Along with the right ideas for each page, colors are just as important. I pick colors that help the story. I color in all tiny pages with colored pencil. This is my guide when I paint.
DRAWING FULL PAGES: Step 4
a. NOW, SEND the storyboard drawing to my iPad. I trace each page and draw in more details and expand it bigger and bigger until each is full size . I save each page in its own layer. This tracing/expanding method came from SVS Learn’s Picture-Book Creative Composition course (highly recommend!). It takes me about three months to finish about 28 carefully drawn pages (with a regular job as well).
b. EMAIL all full-size drawings with text to the publisher and wait for another ‘green light’ or thumbs up. They may want changes….fingers crossed!
Prepare Paper: Step 5
a. GREEN LIGHT? Print each drawing out 20% bigger than the book size and carefully trace EACH PAGE onto a sheet of tracing paper. For pages with very little detail I skip this step and put a loose watercolor sheet directly onto a light table/box and trace right onto the paper.
b. PREPARE PAPER – Watercolor blocks need no prep if they’re small (one page). For double-pages (spreads) I use loose sheets. I stretch each first by soaking in lukewarm water in a huge tray for 7 minutes, then slap each down onto a primed Masonite board, and use gummed brown paper tape to stick edges down. Dry overnight. THEN I’ll trace the page drawing onto it (once you soak, pencil doesn’t erase well). I’ll prepare up to four at a time.
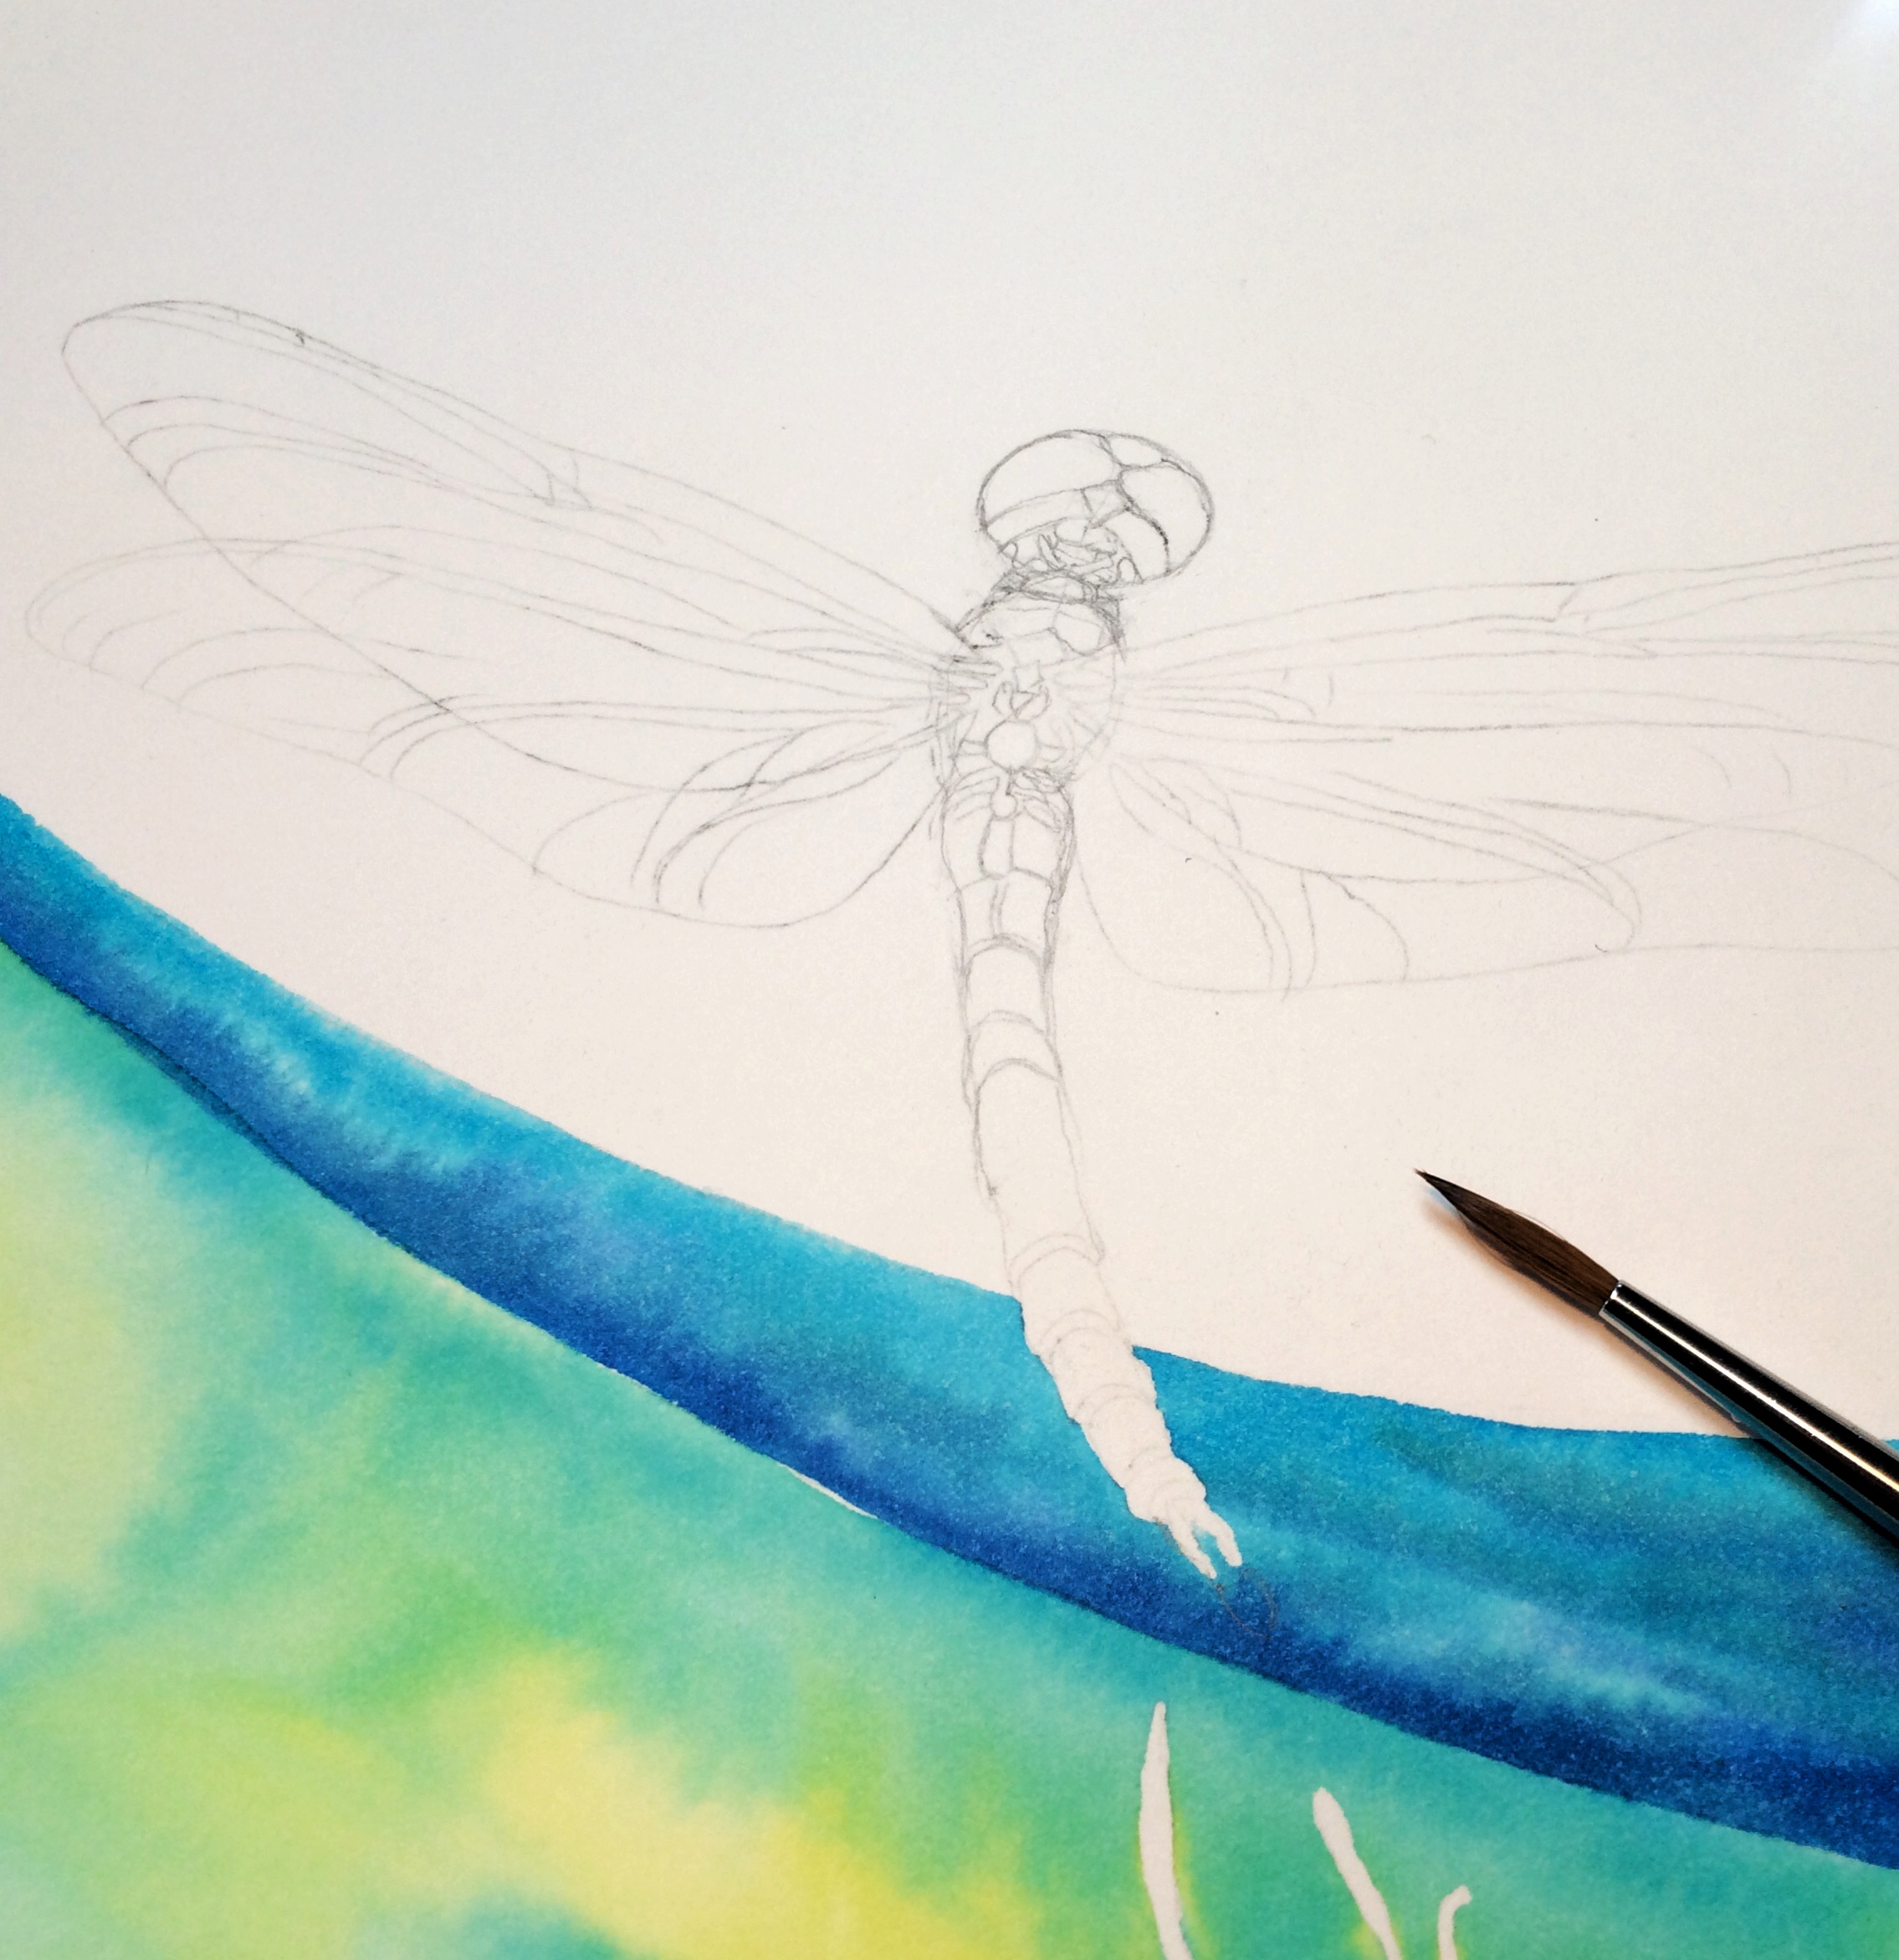
Drawings to Watercolor Paper: Step 6
a. MEASURE and mark each page size on the paper, with tiny corner pencil lines. This guides me where to put color.
b. GRAPHITE TRACING. I have tried many brands of carbon transfer paper from the store but they do not erase off completely like my pencil does. I take a sheet of tracing paper and color hard with pencil/graphite all over one side. Go over the sheet again in two more directions so it’s really black. With a few drops of lighter fluid on a soft cloth, smooth the graphite around carefully. Now I’m ready to trace with it.
c. TRACING PAPER - tape it on the watercolor paper where the drawing should go. Slide my sheet of carbon transfer tracing paper under the drawing. Now trace lines with a red ballpoint pen. Does this sound like a lot of work? Phew! You betcha! Now go have coffee or dark chocolate…
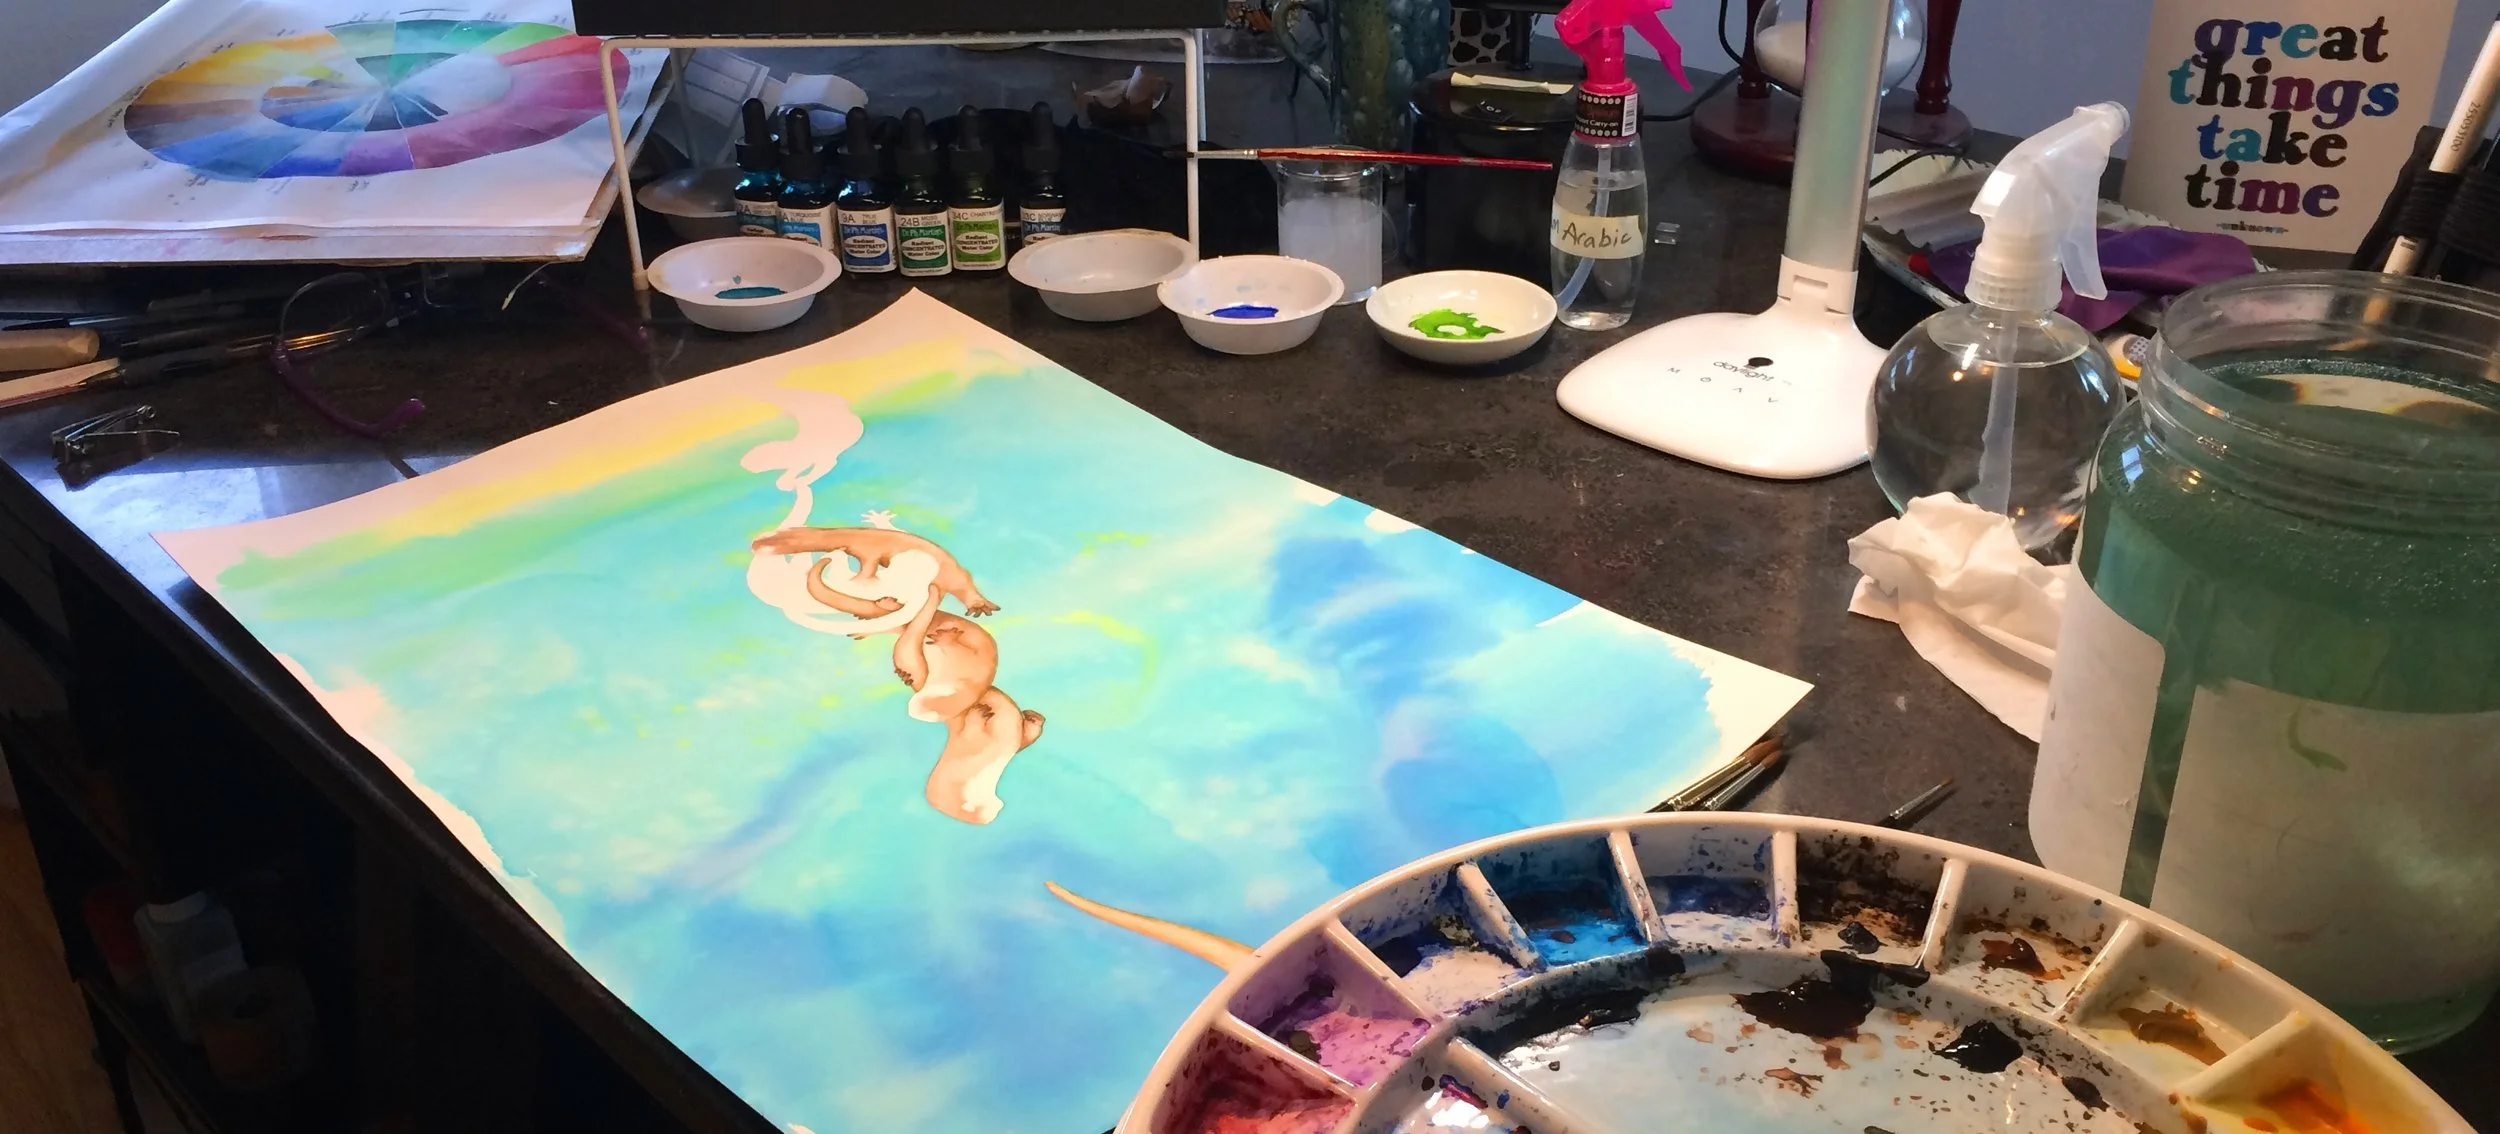
FINALLY PAINTNG! Step 7
a. By now I’ve worked up a huge appetite for color and am hungry to get the paints out! I settle in for the long haul with fresh coffee and dark chocolate tucked away for sleepy hours. Not kidding.
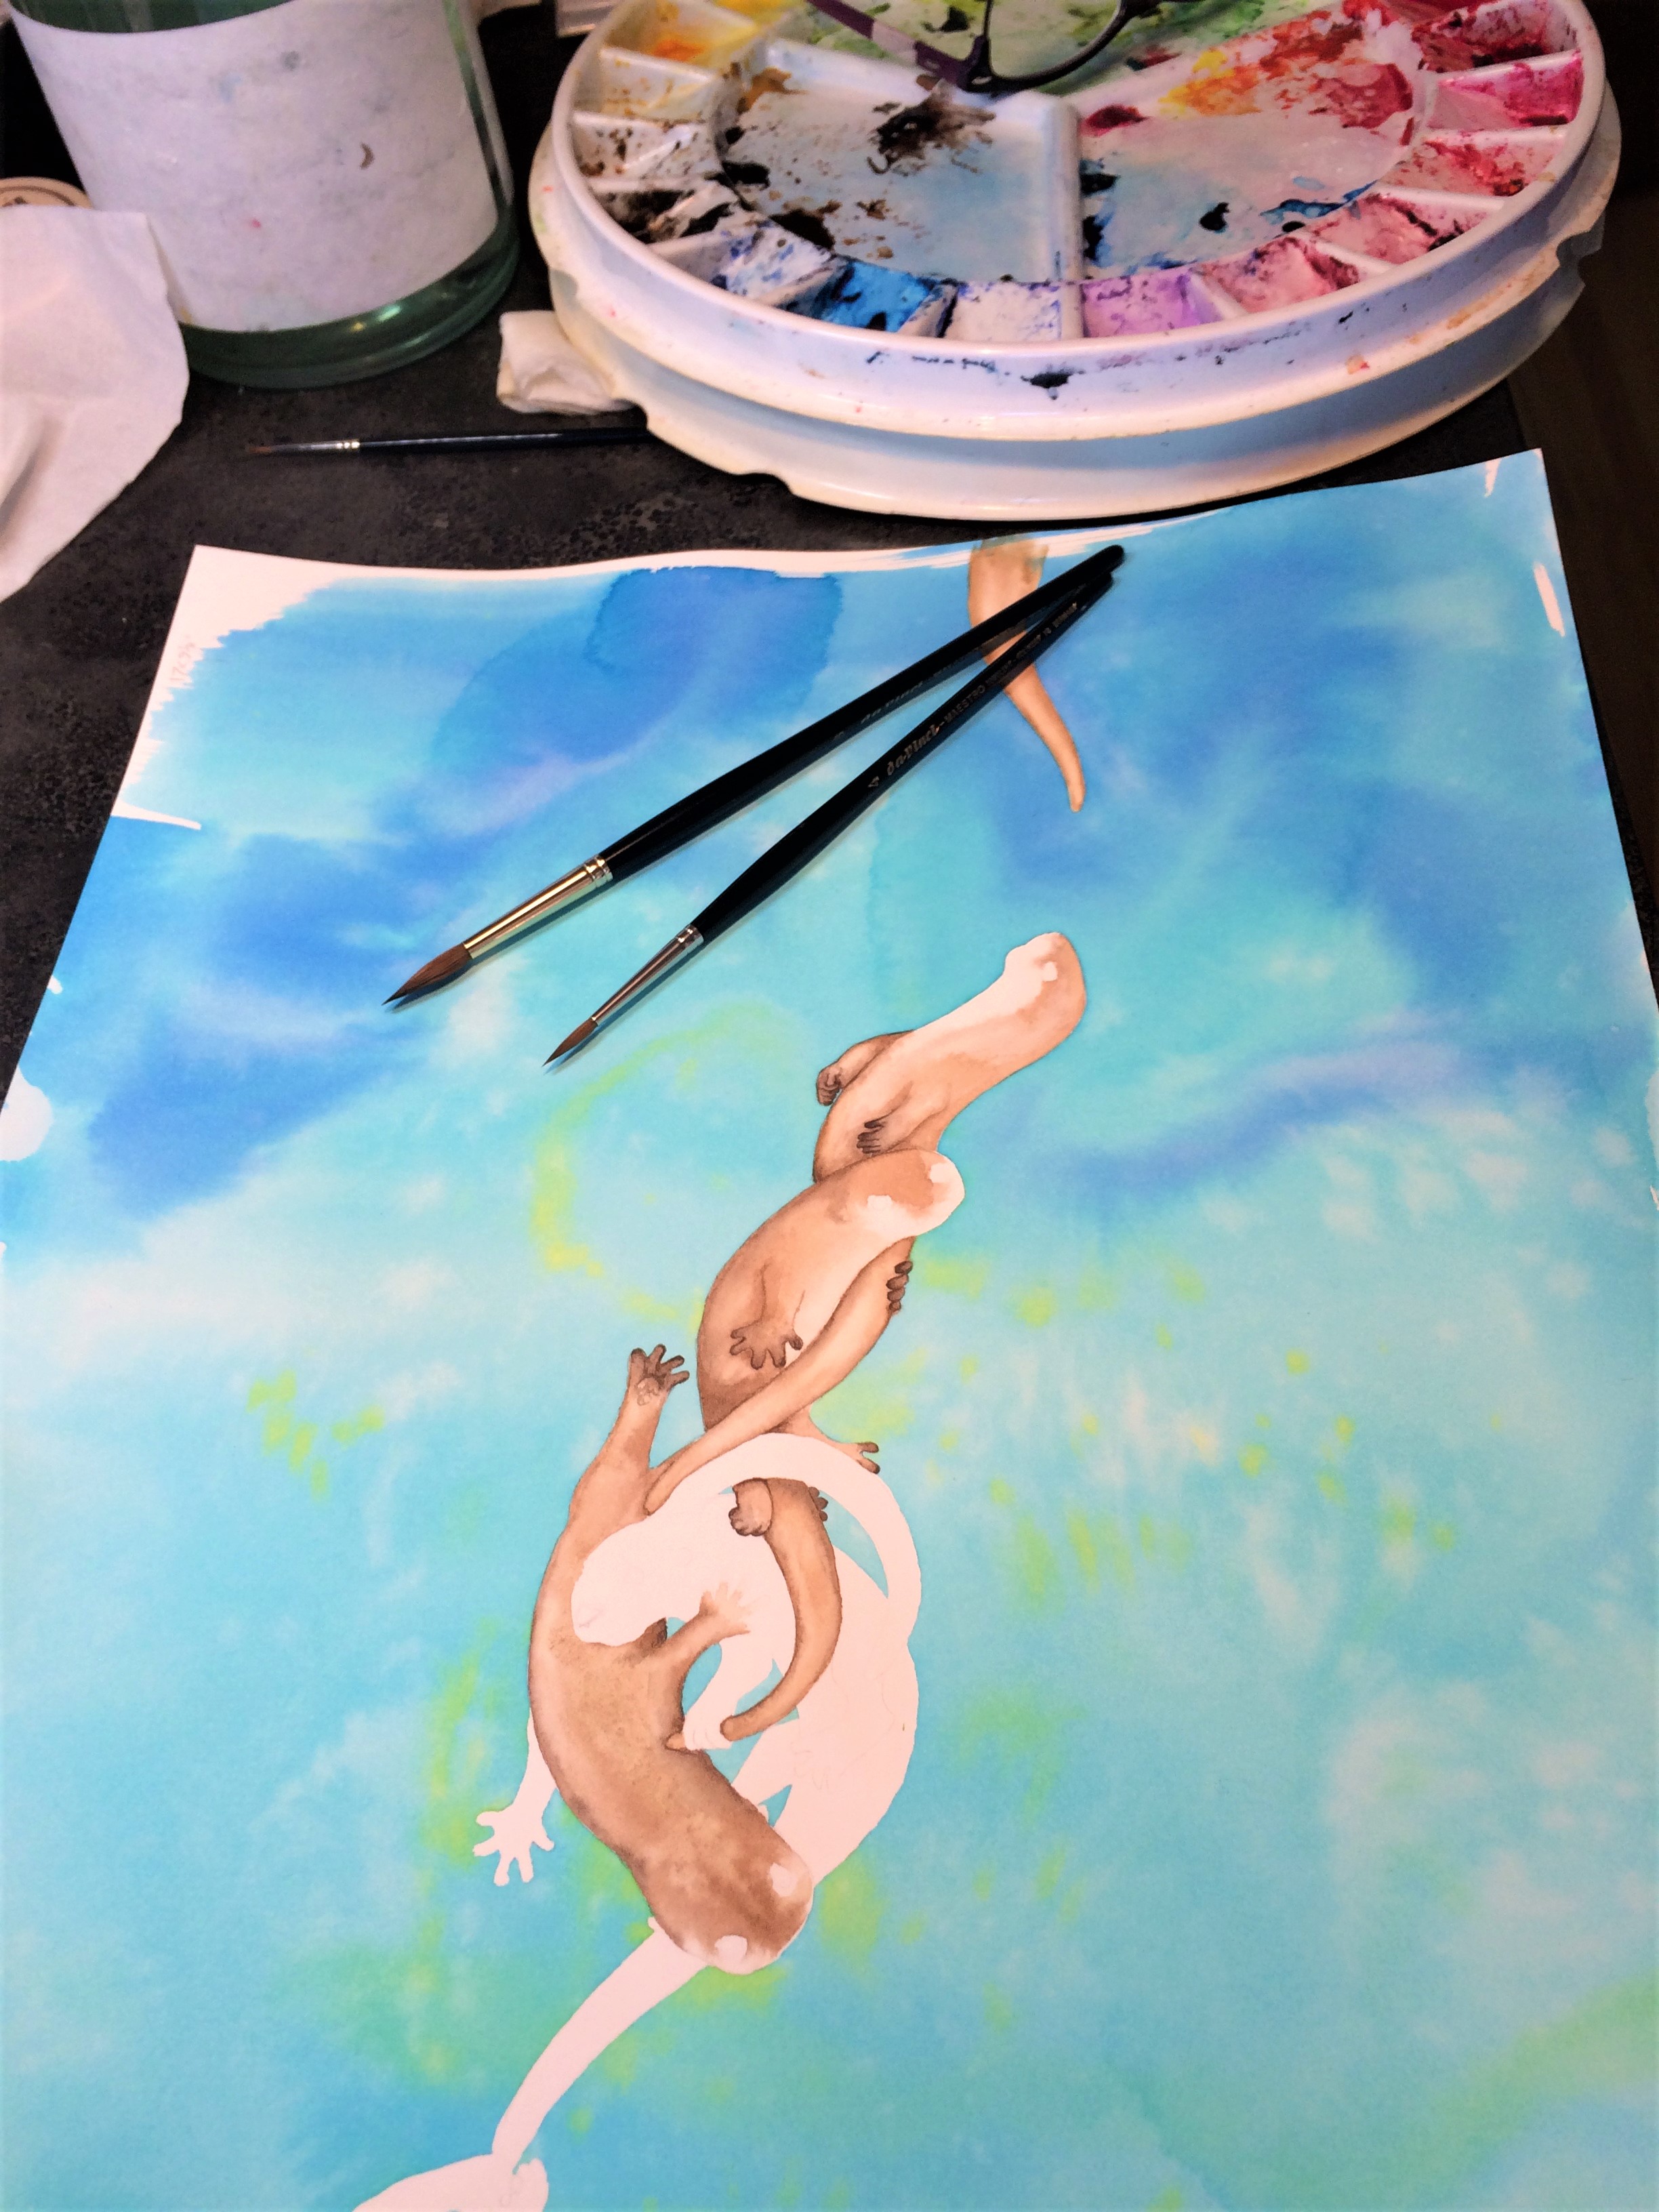
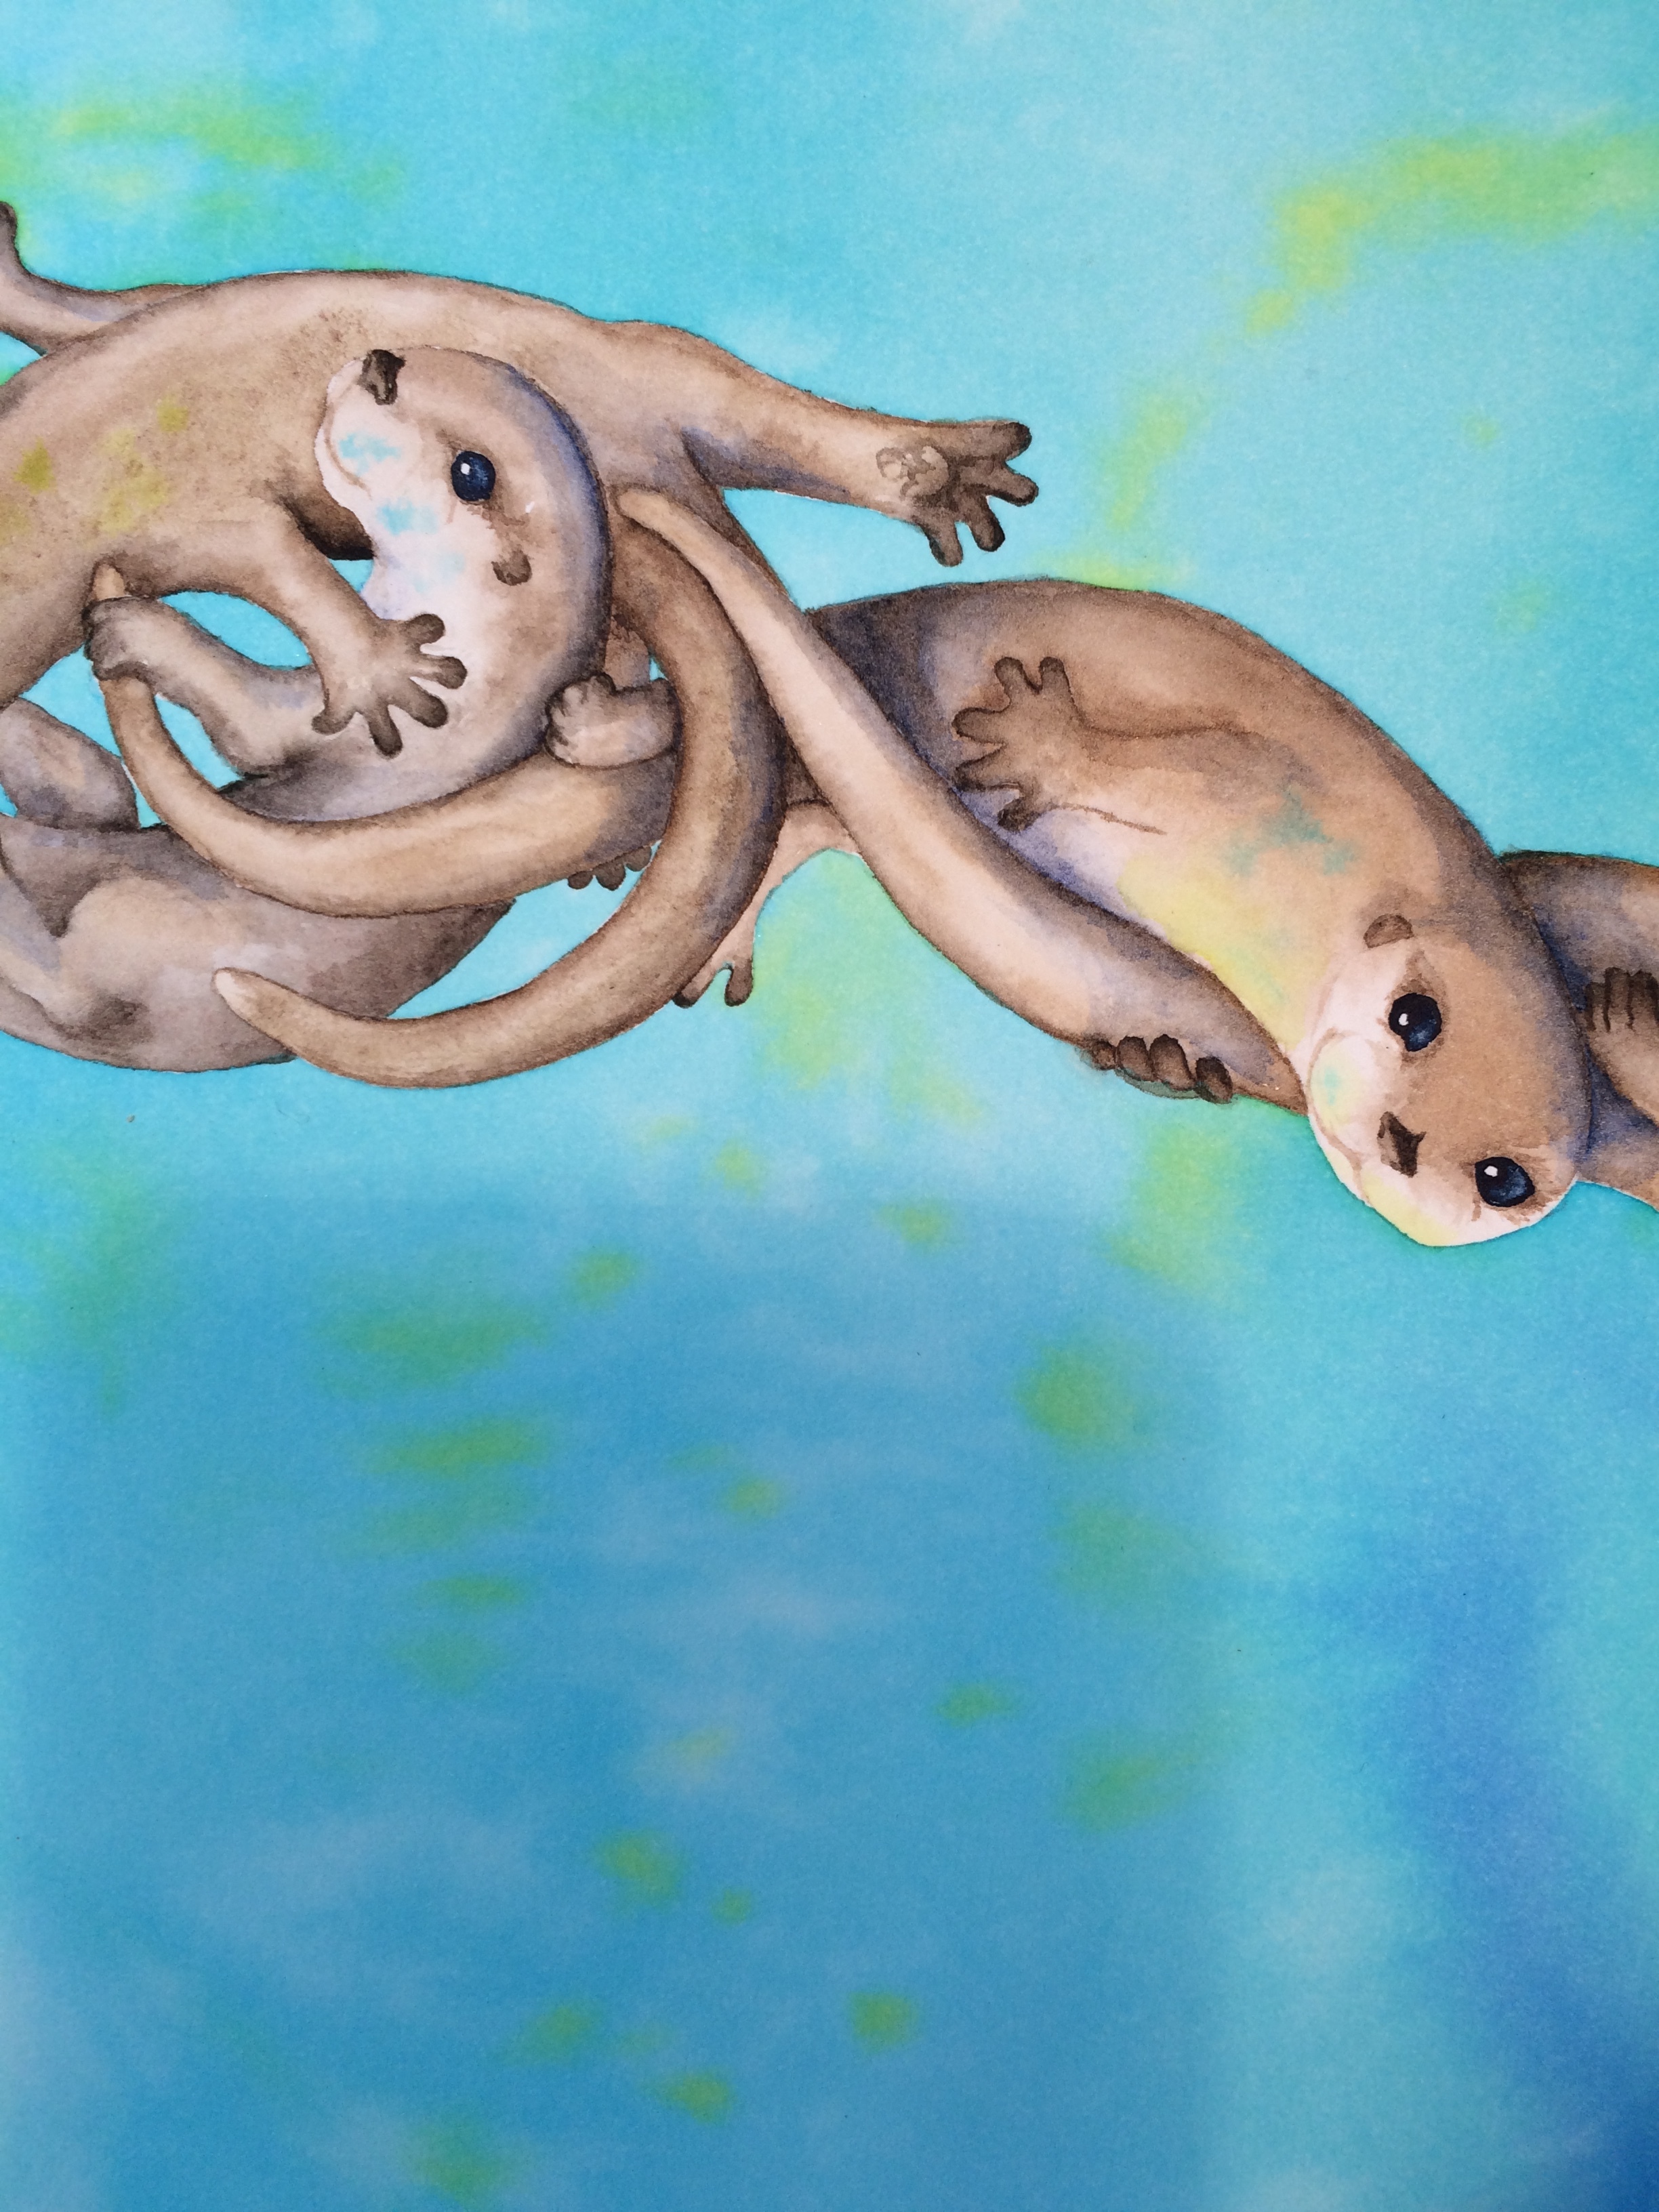

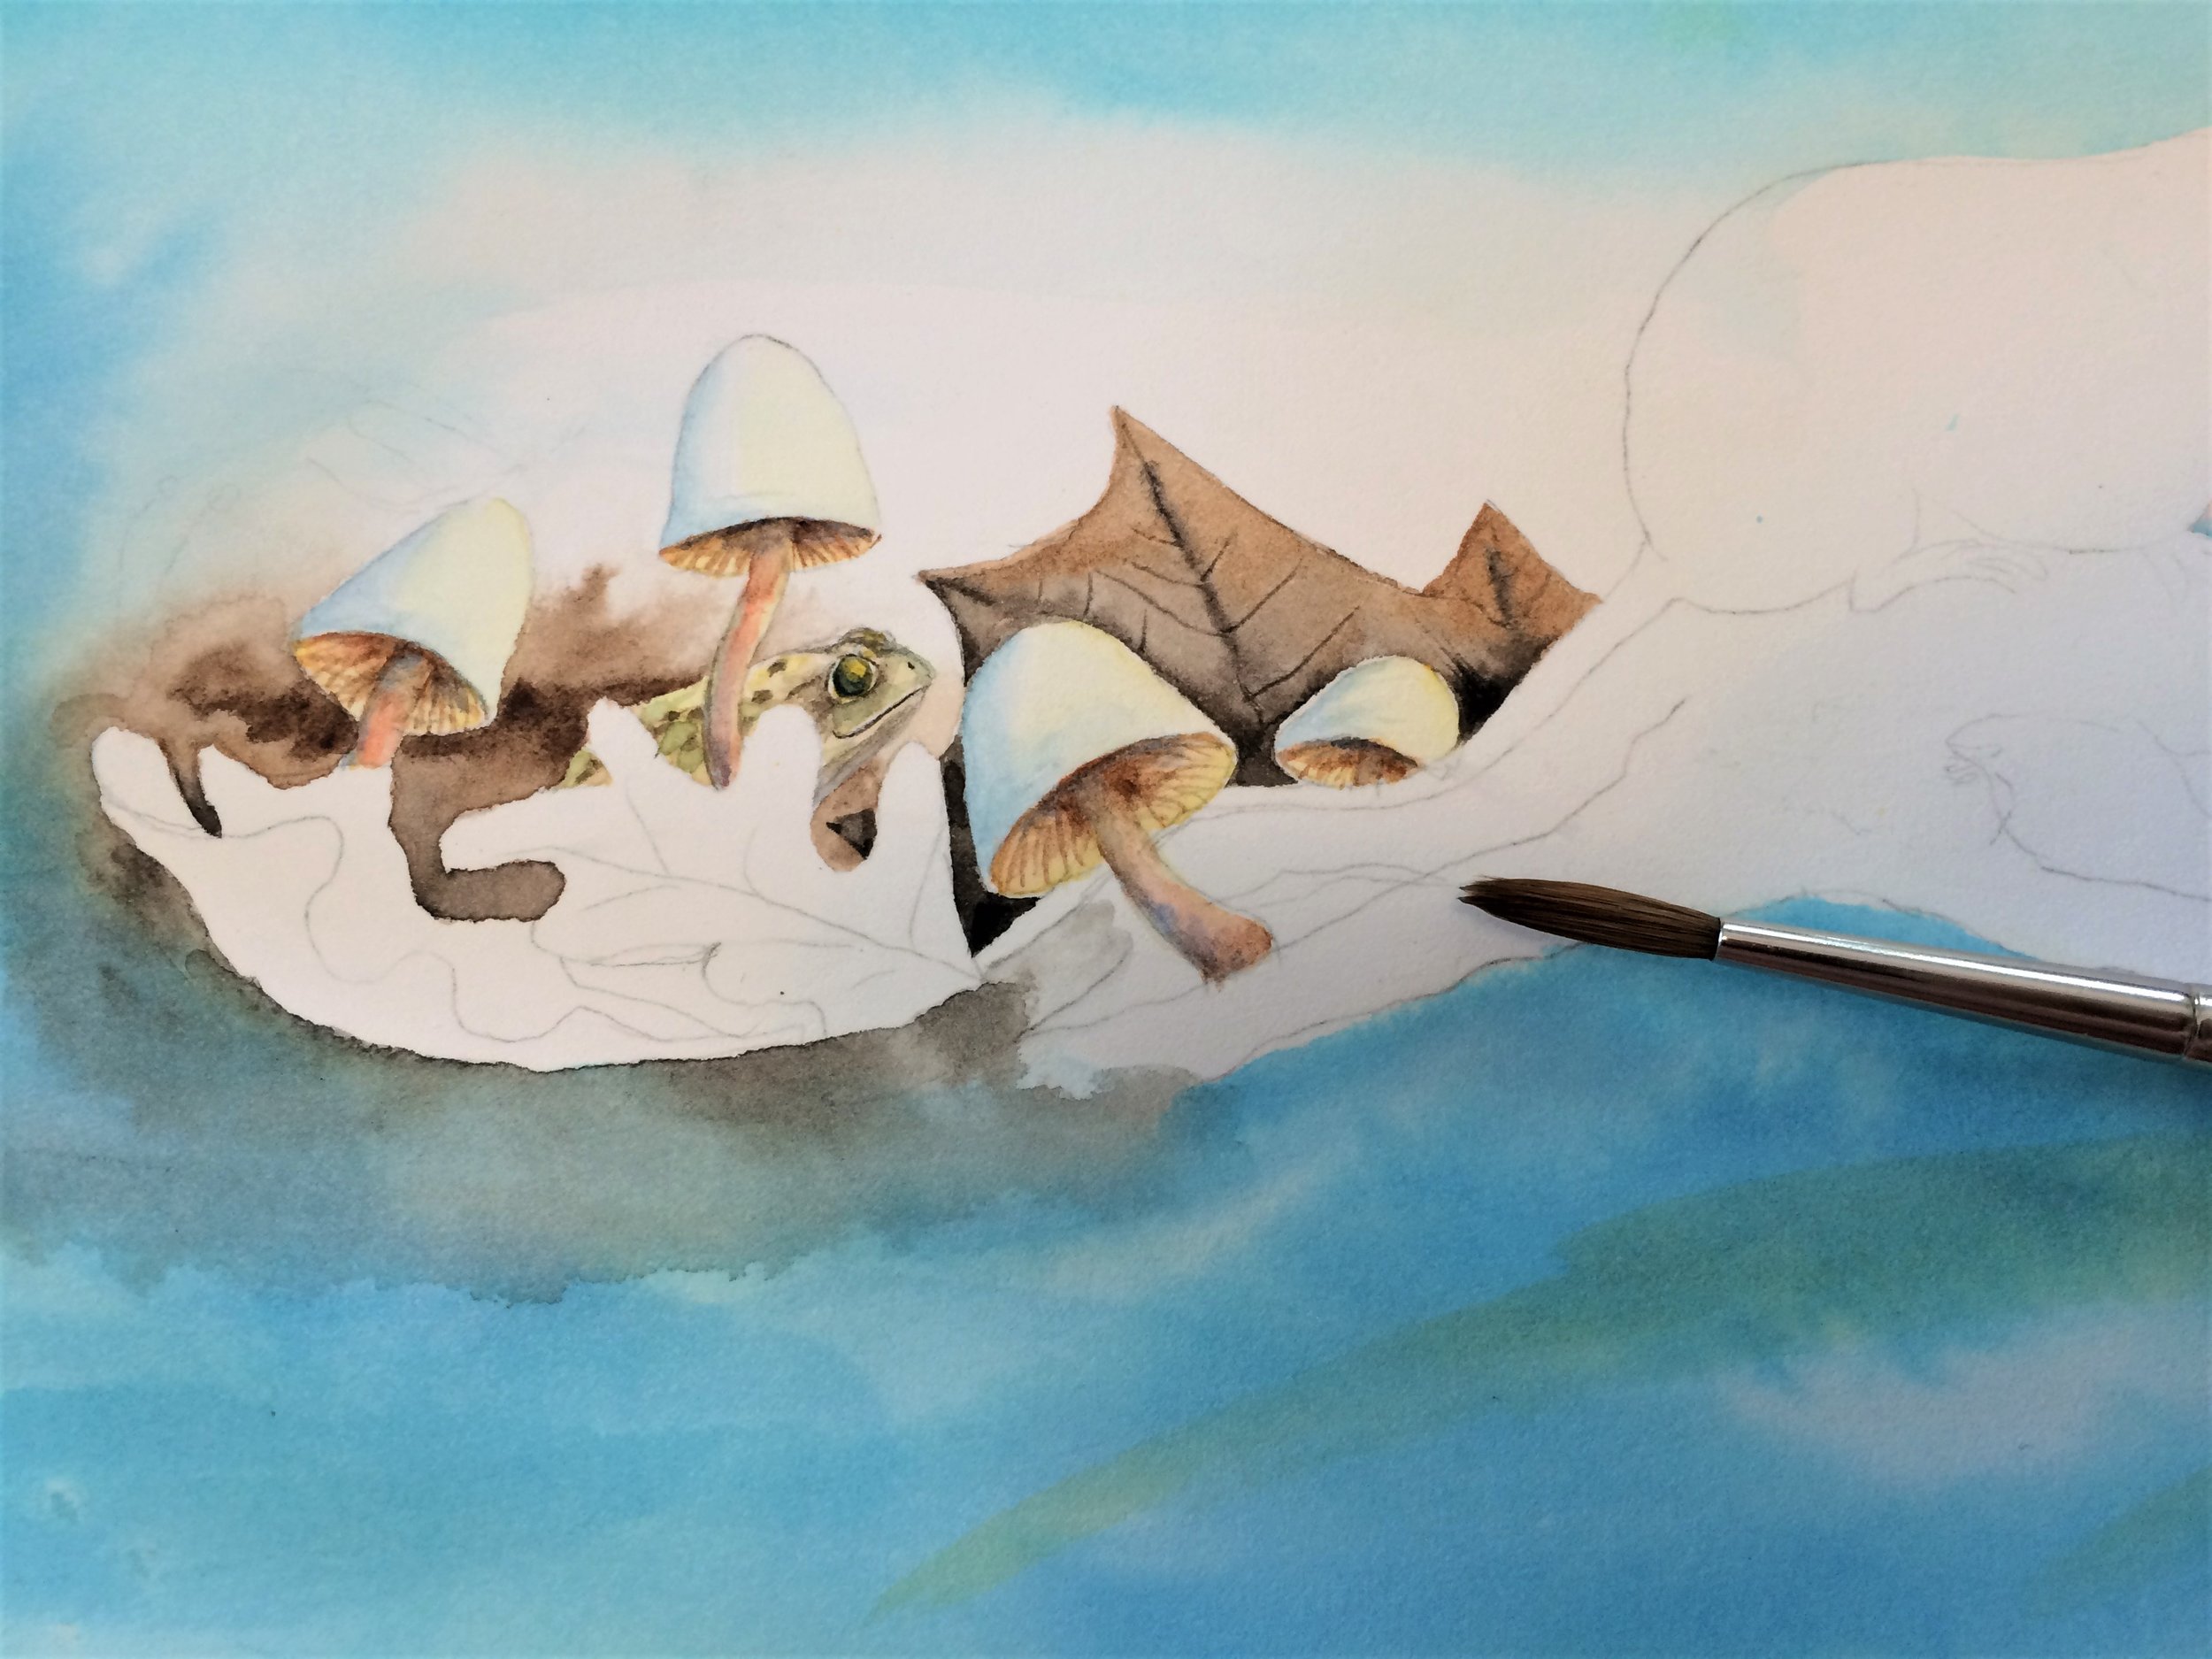
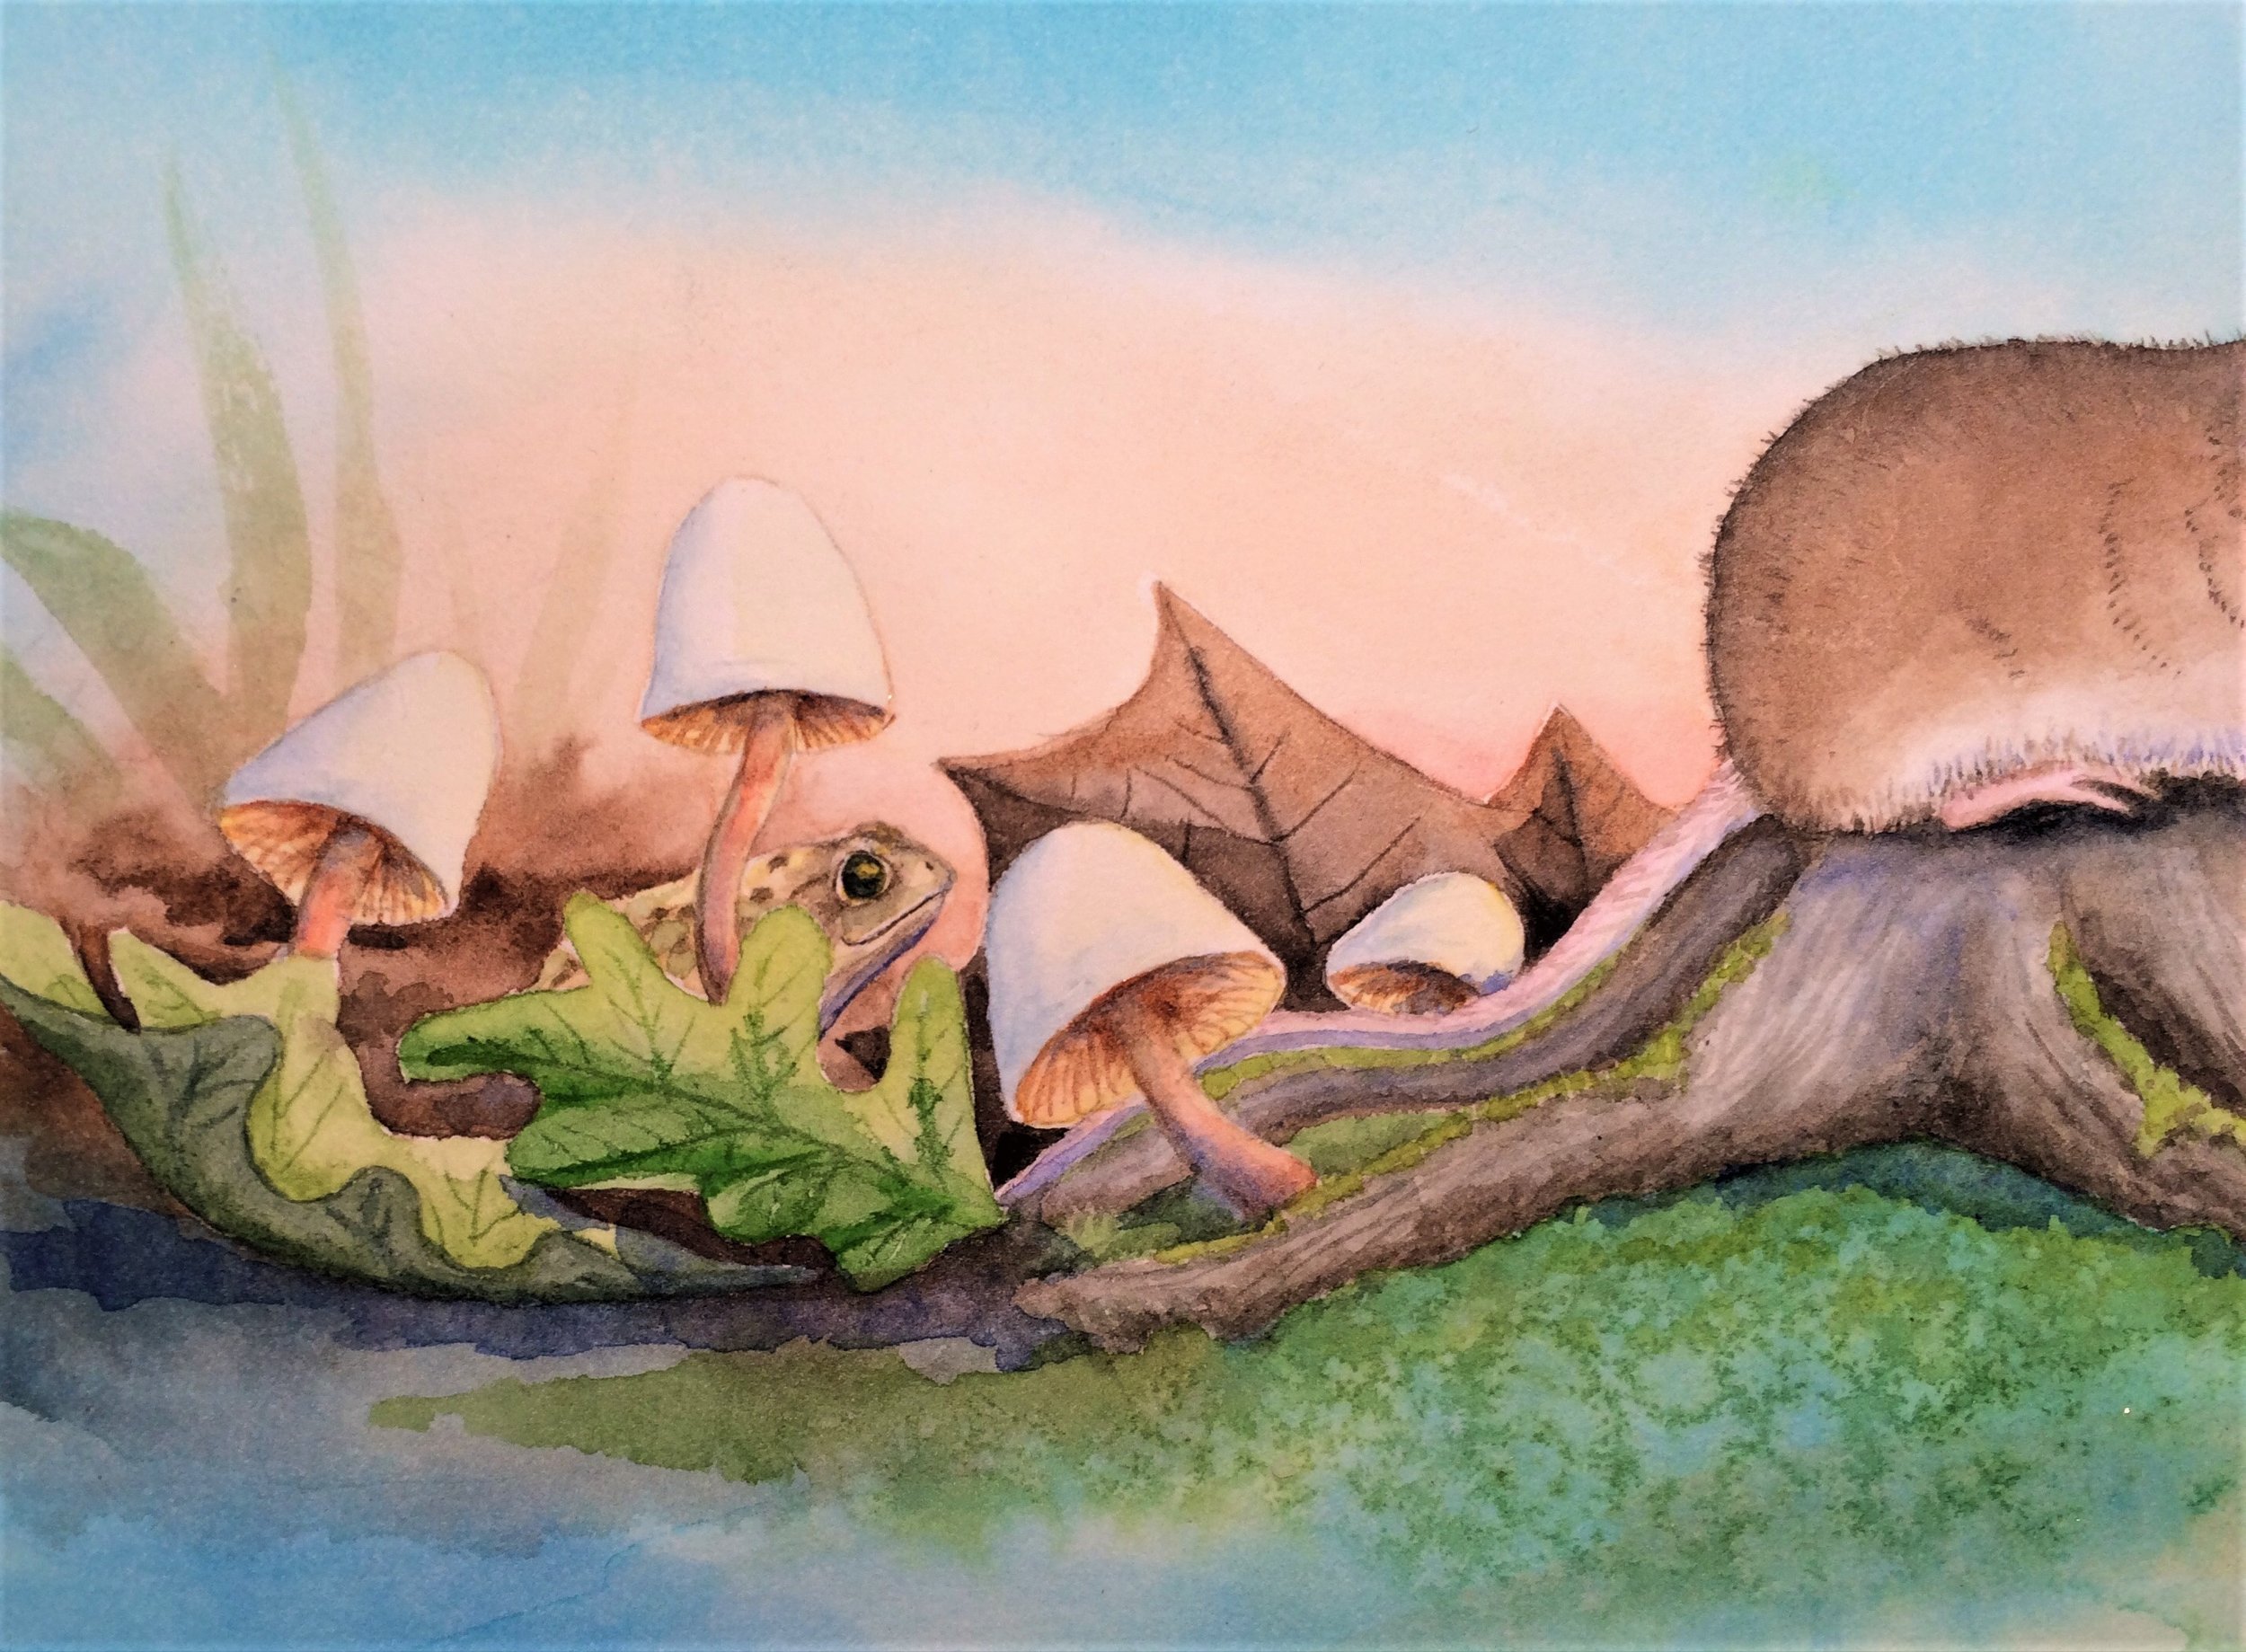
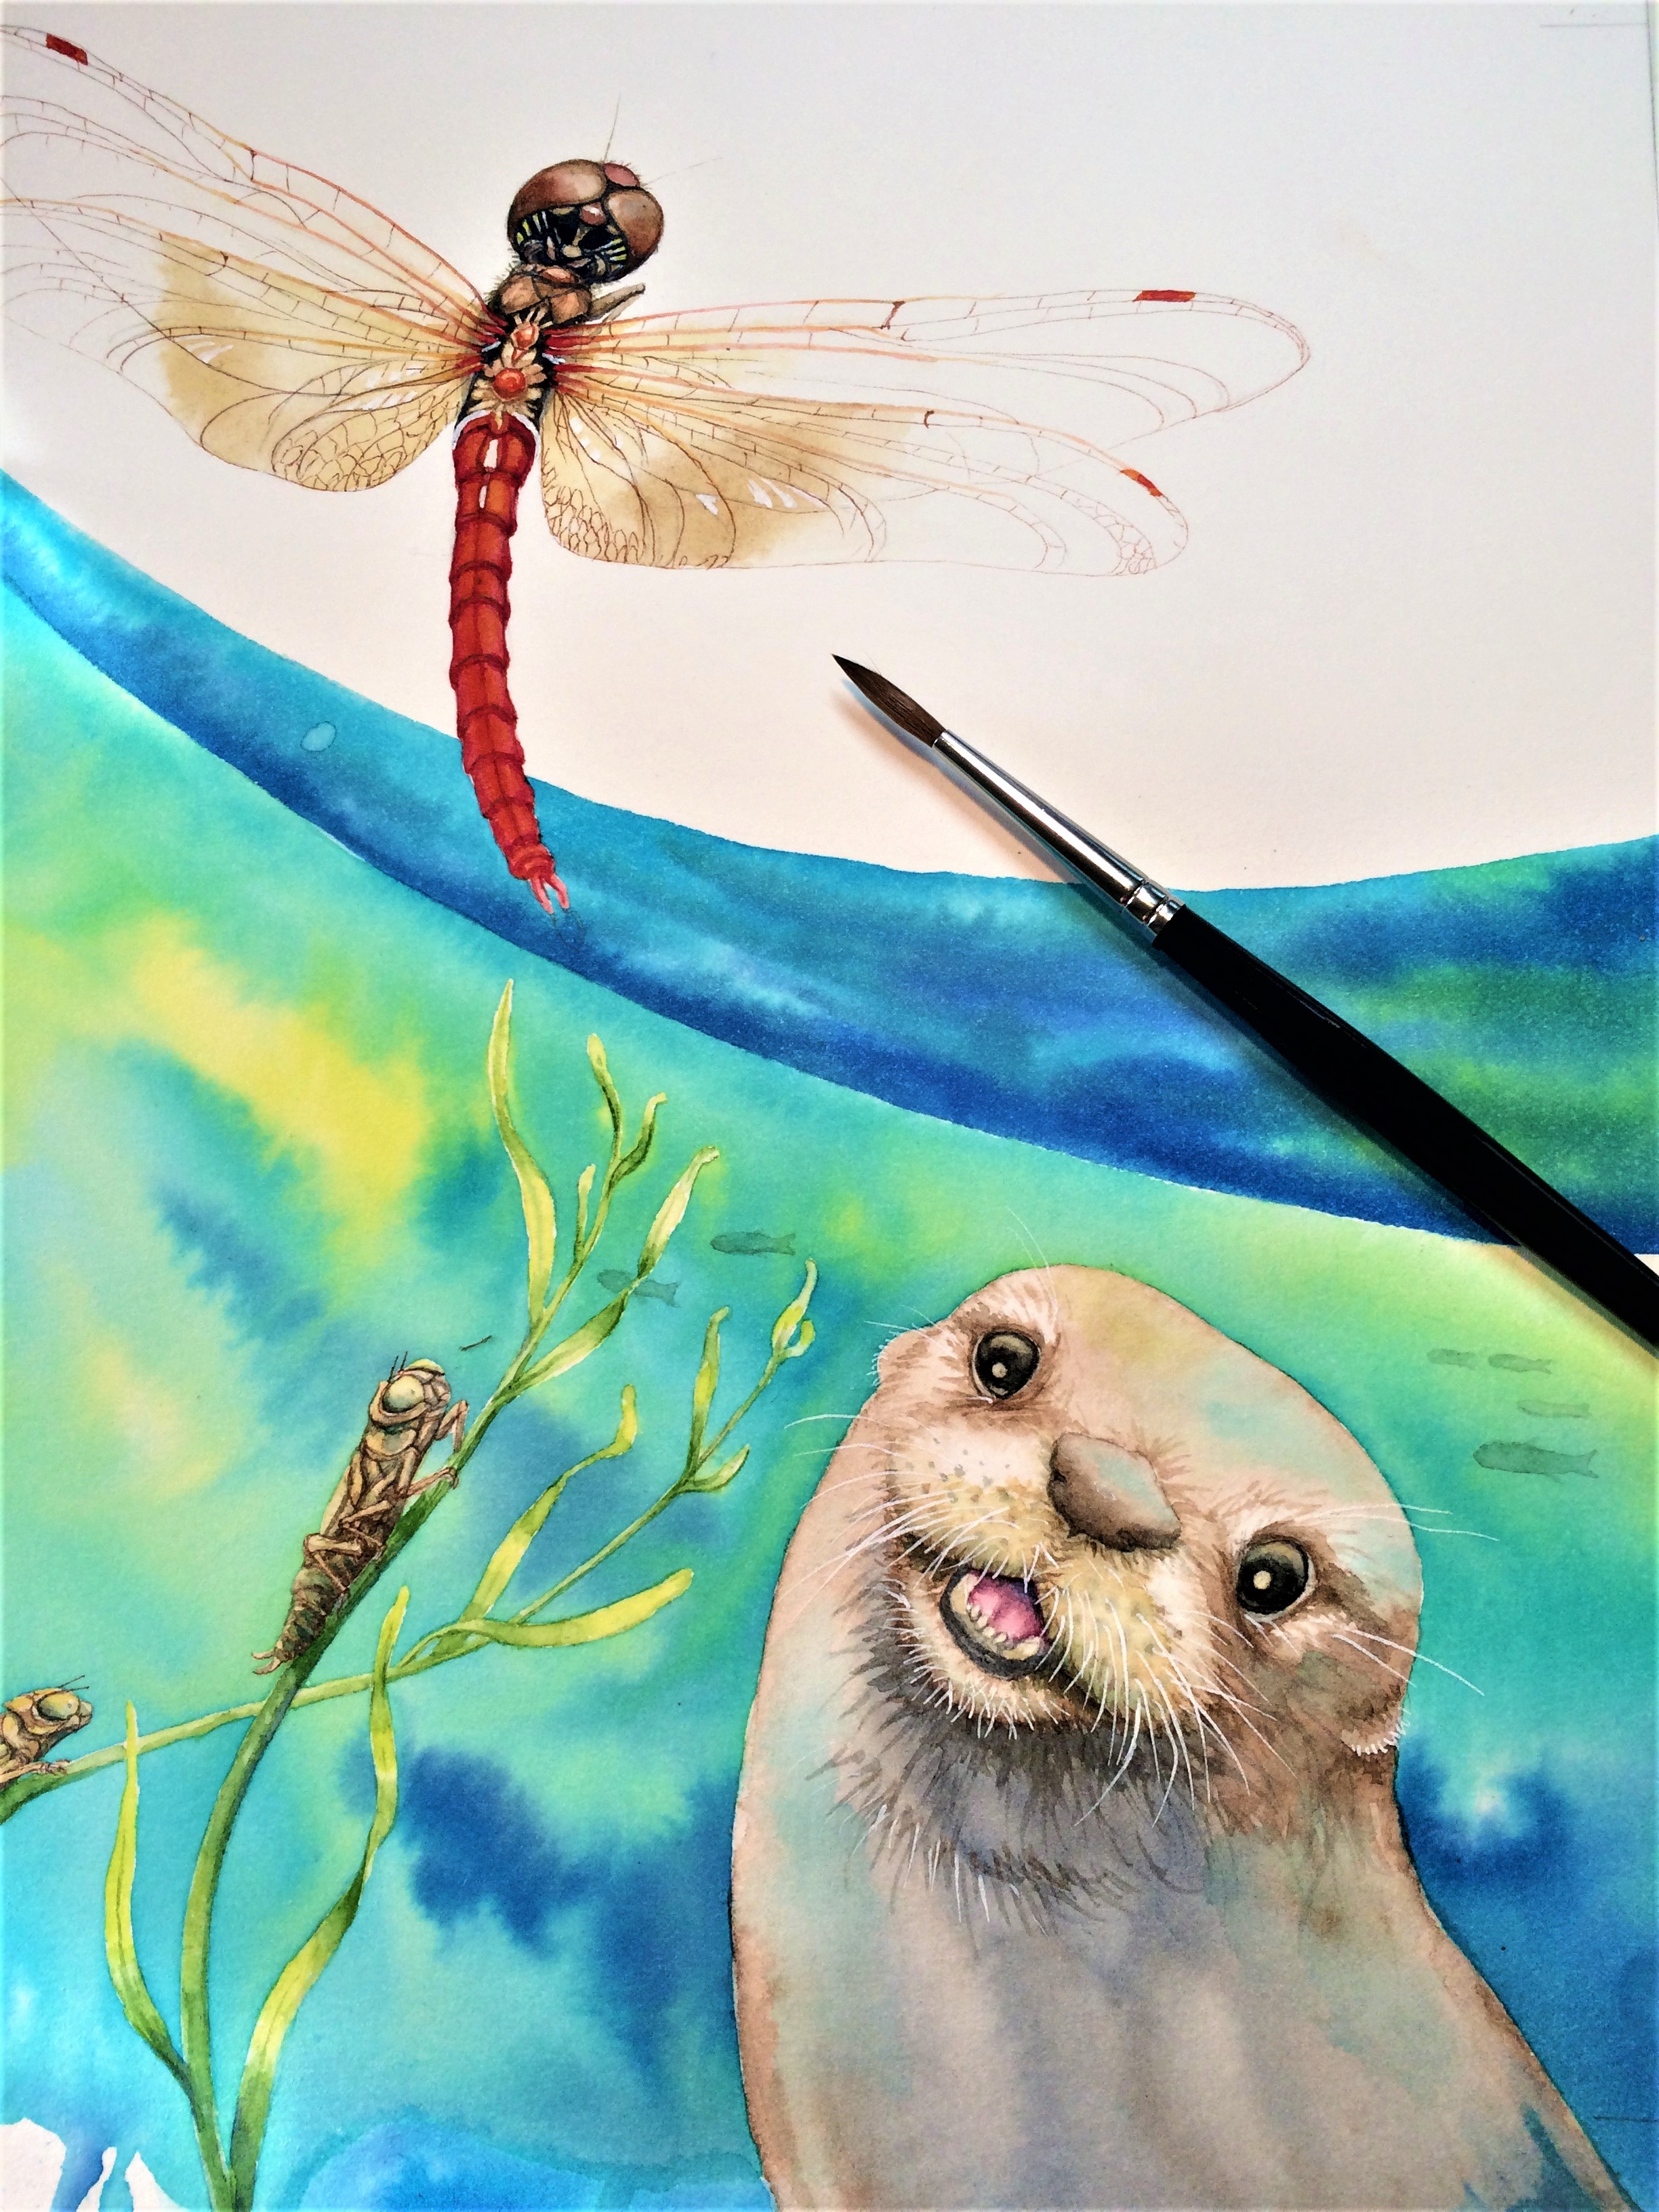
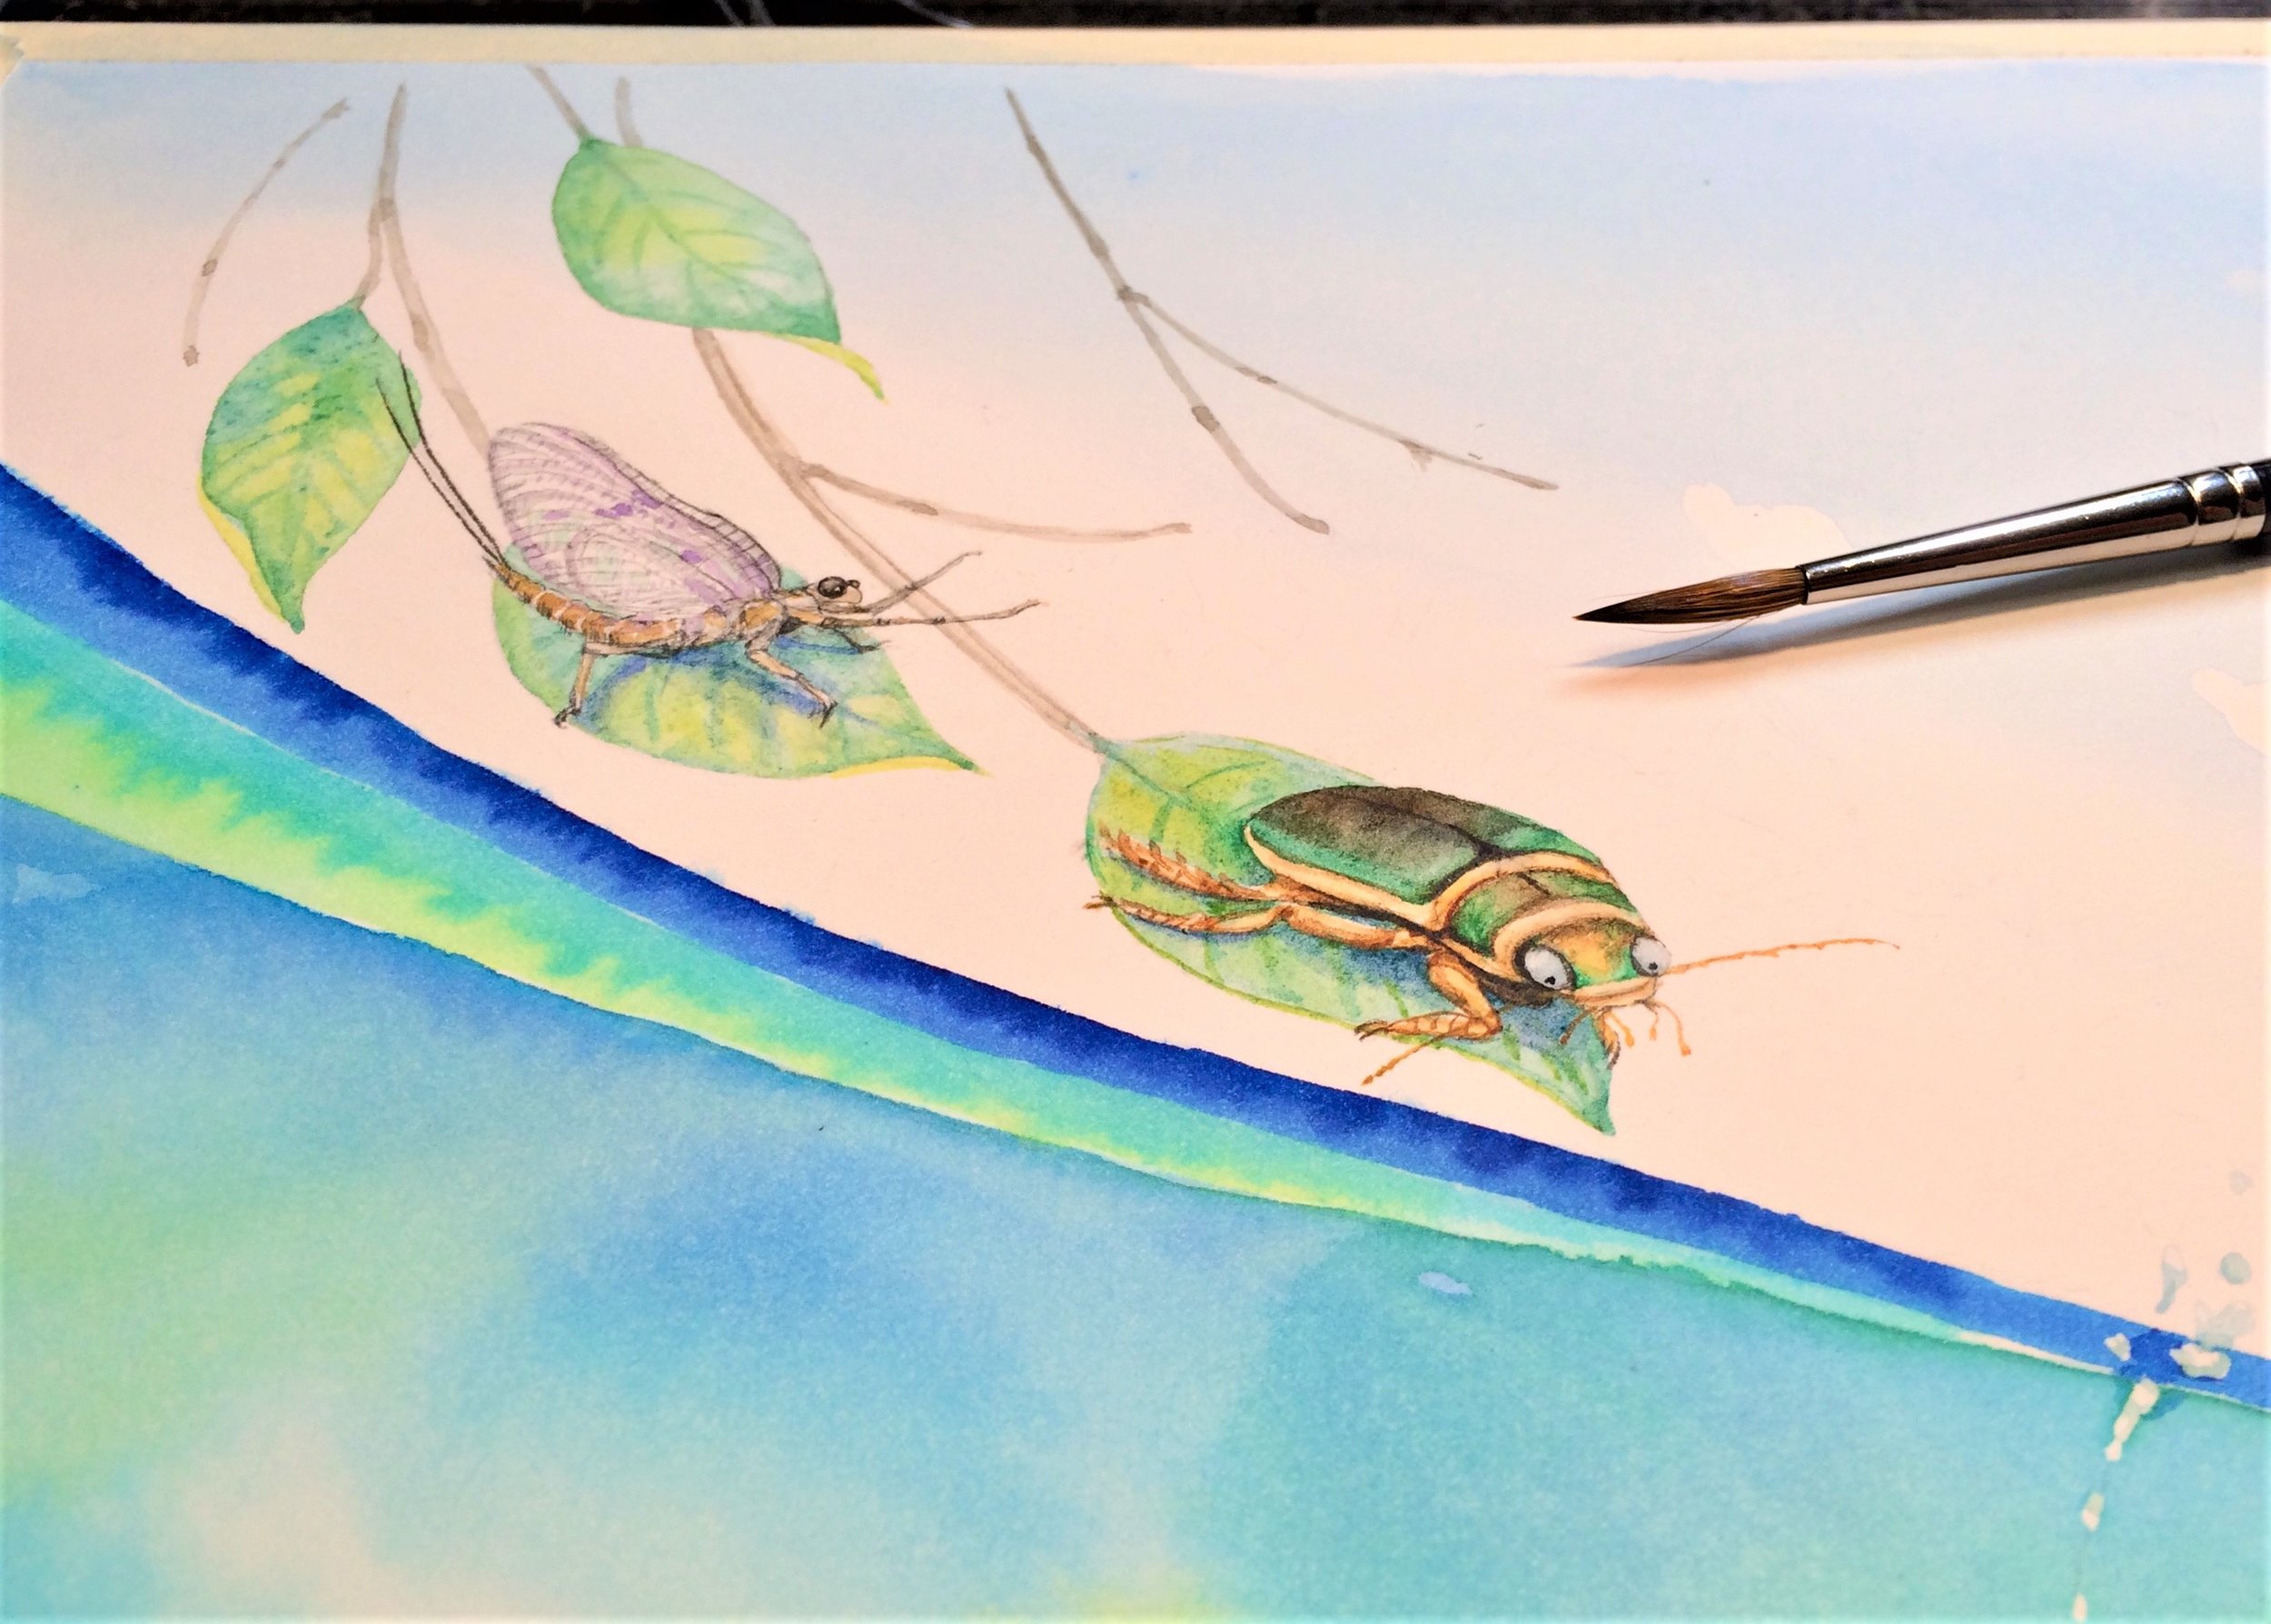
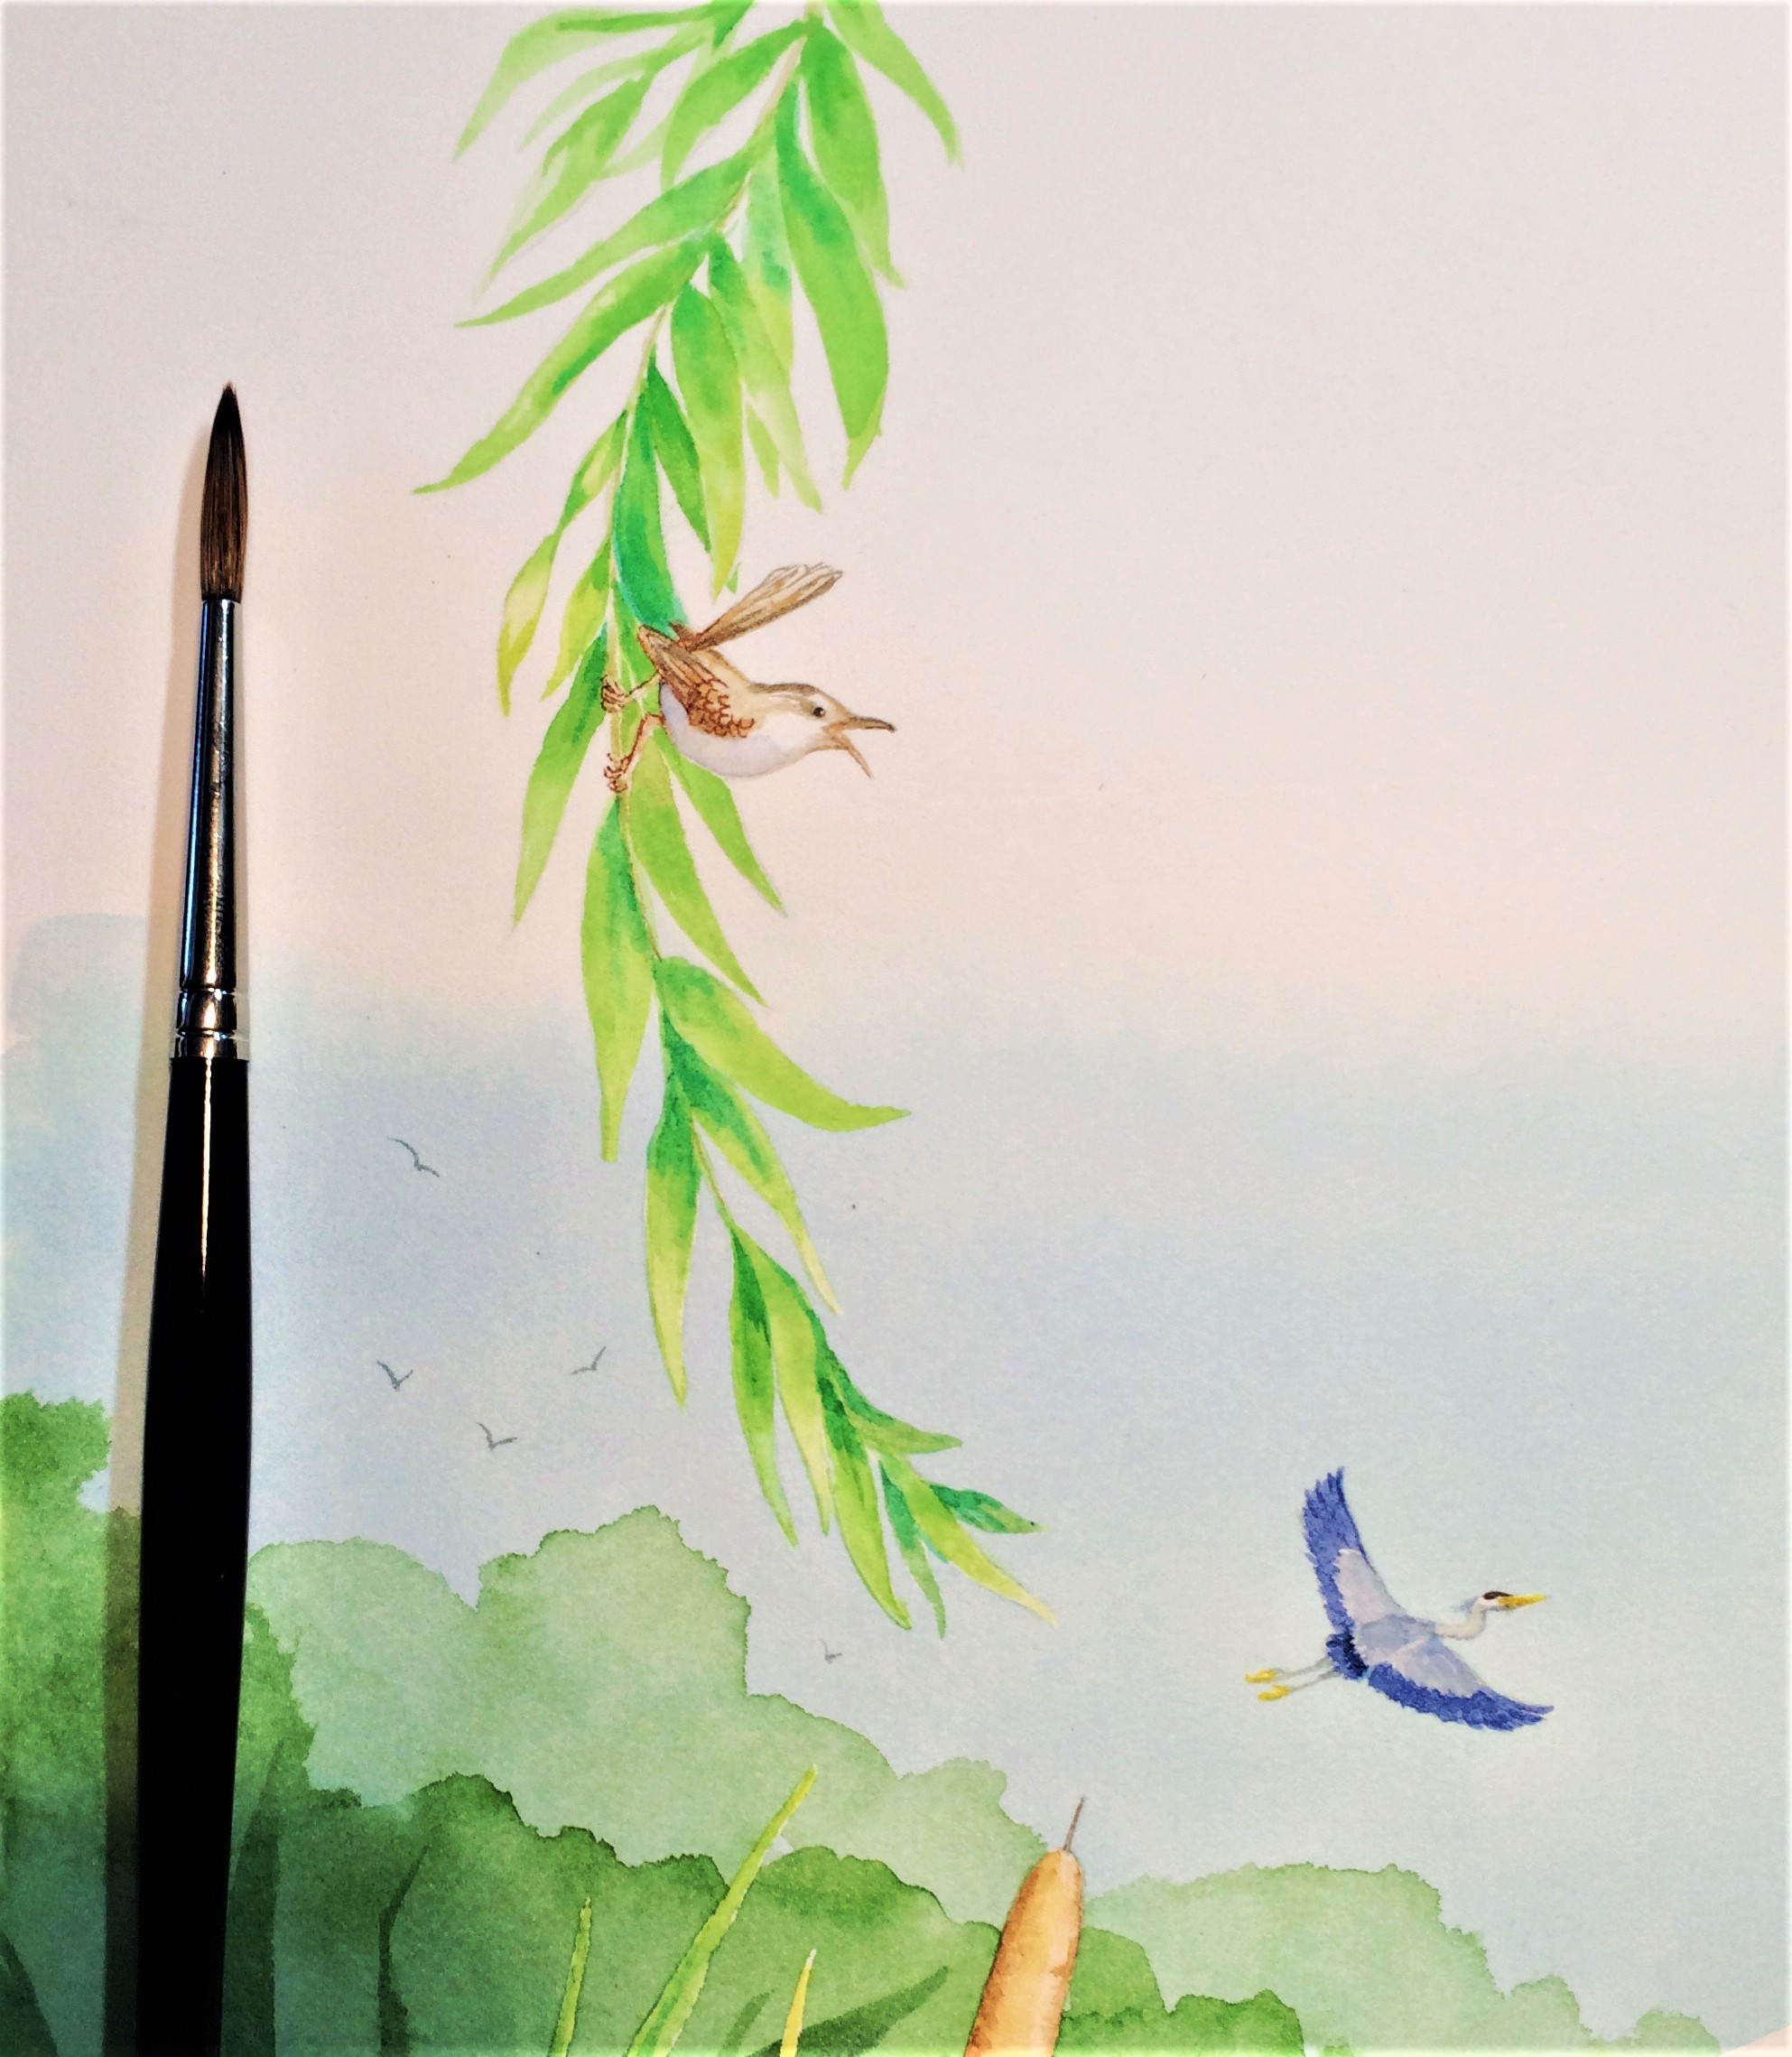
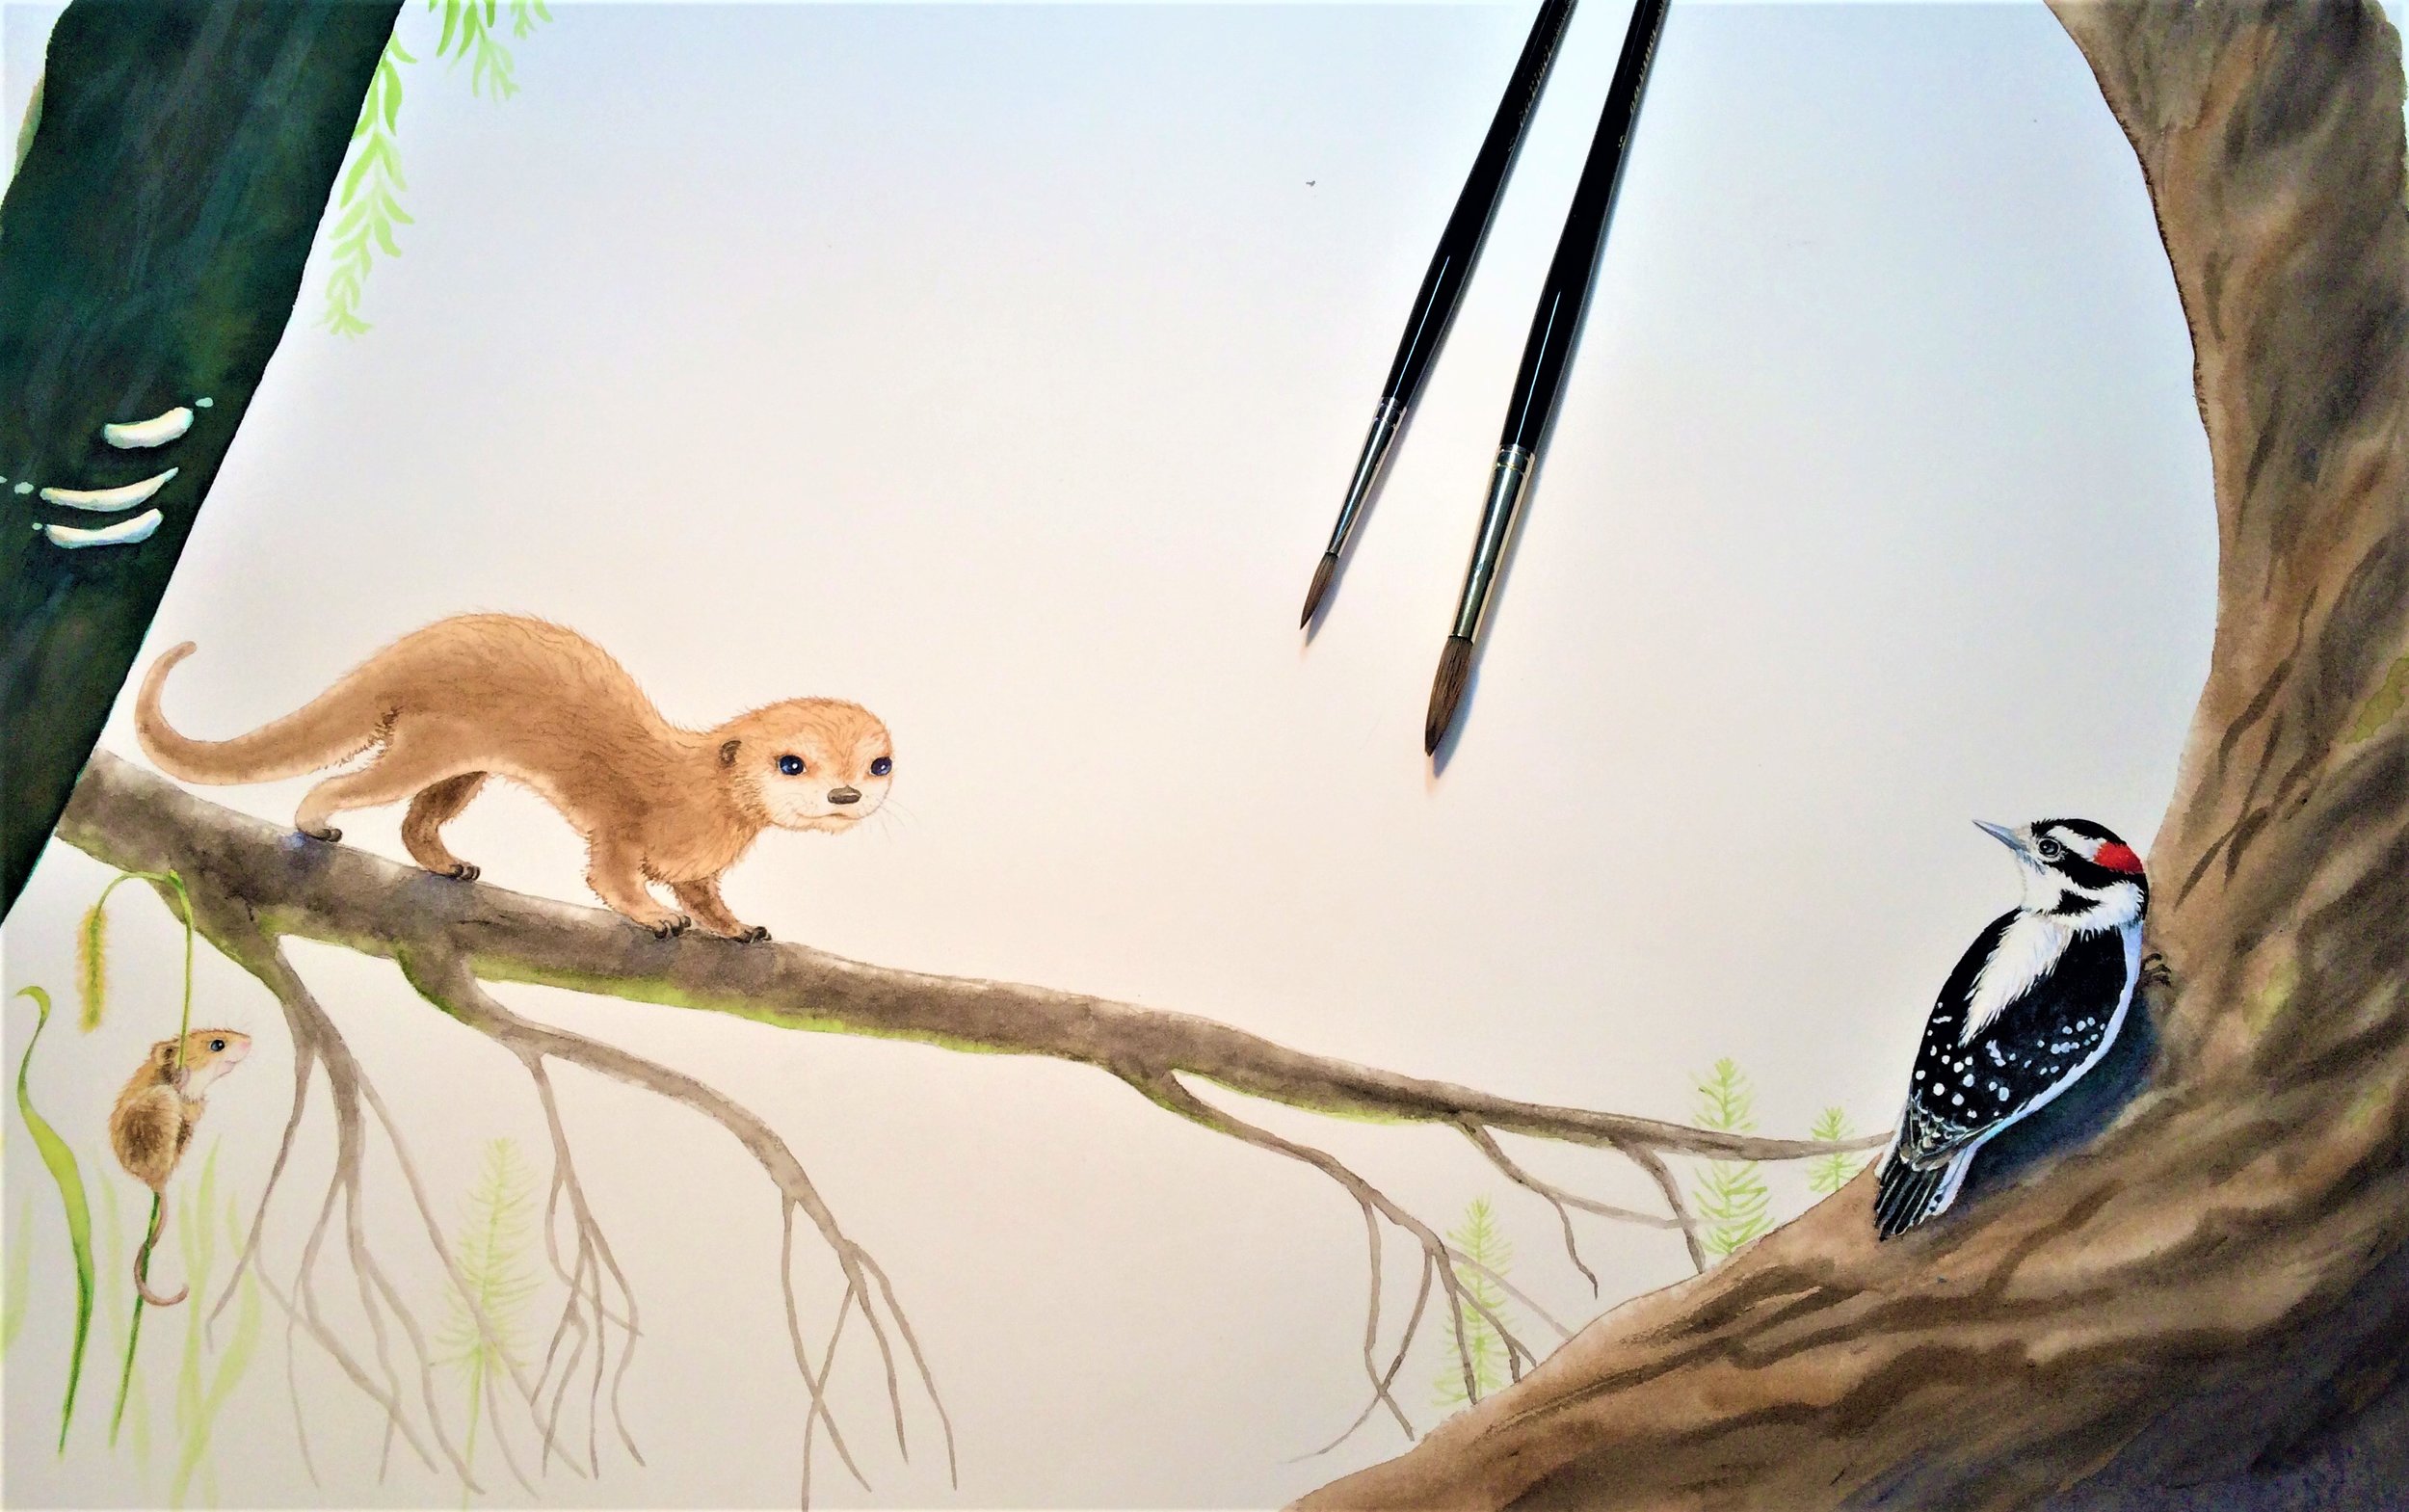
b. PAINT on masking fluid (I use Pebeo) – a liquid rubber latex - to save the white areas, and then I slosh the paint on backgrounds first. I roll the rubber mask off with my fingers once it’s dry, and paint some more. I make a MESS and it takes a long time. Painting everything takes 4-6 months (with a full time job). And I get very tired. Like a long pregnancy, I have to keep going, knowing that it will get birthed and be wonderful someday…
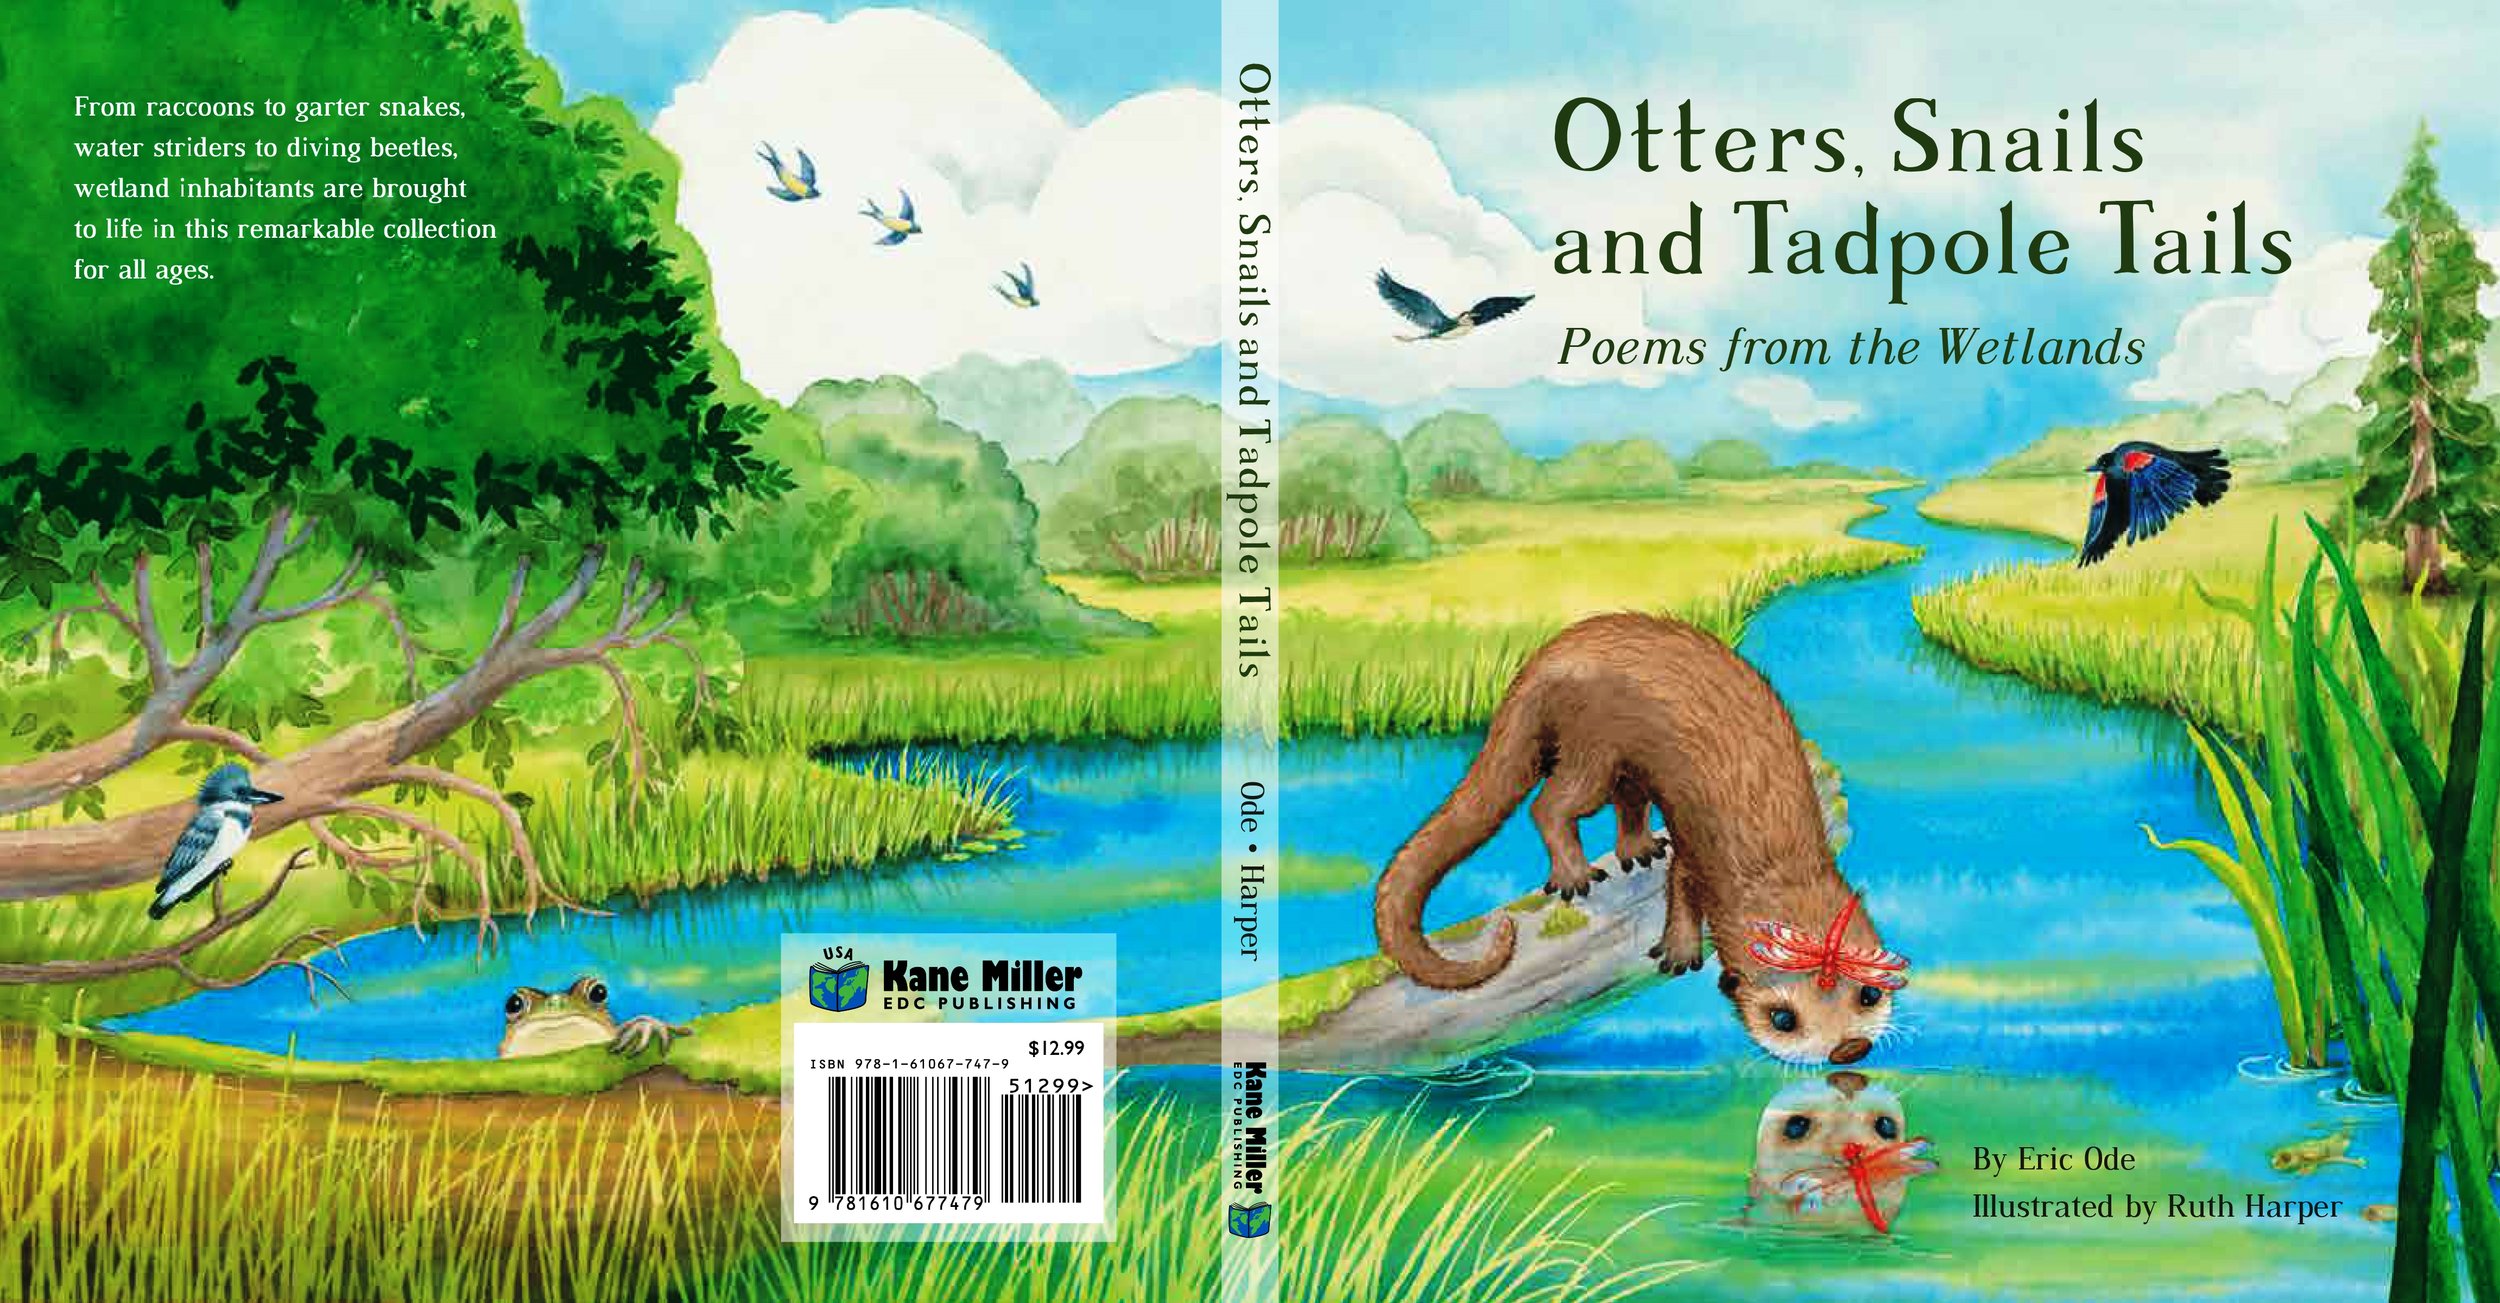
c. PACKAGE & SEND the publisher all the original paintings! Scary. Yikes. They send paintings off to a big printing company to photograph/scan - and turn them into books! YAY!

MY SUPPLIES
Coming soon…